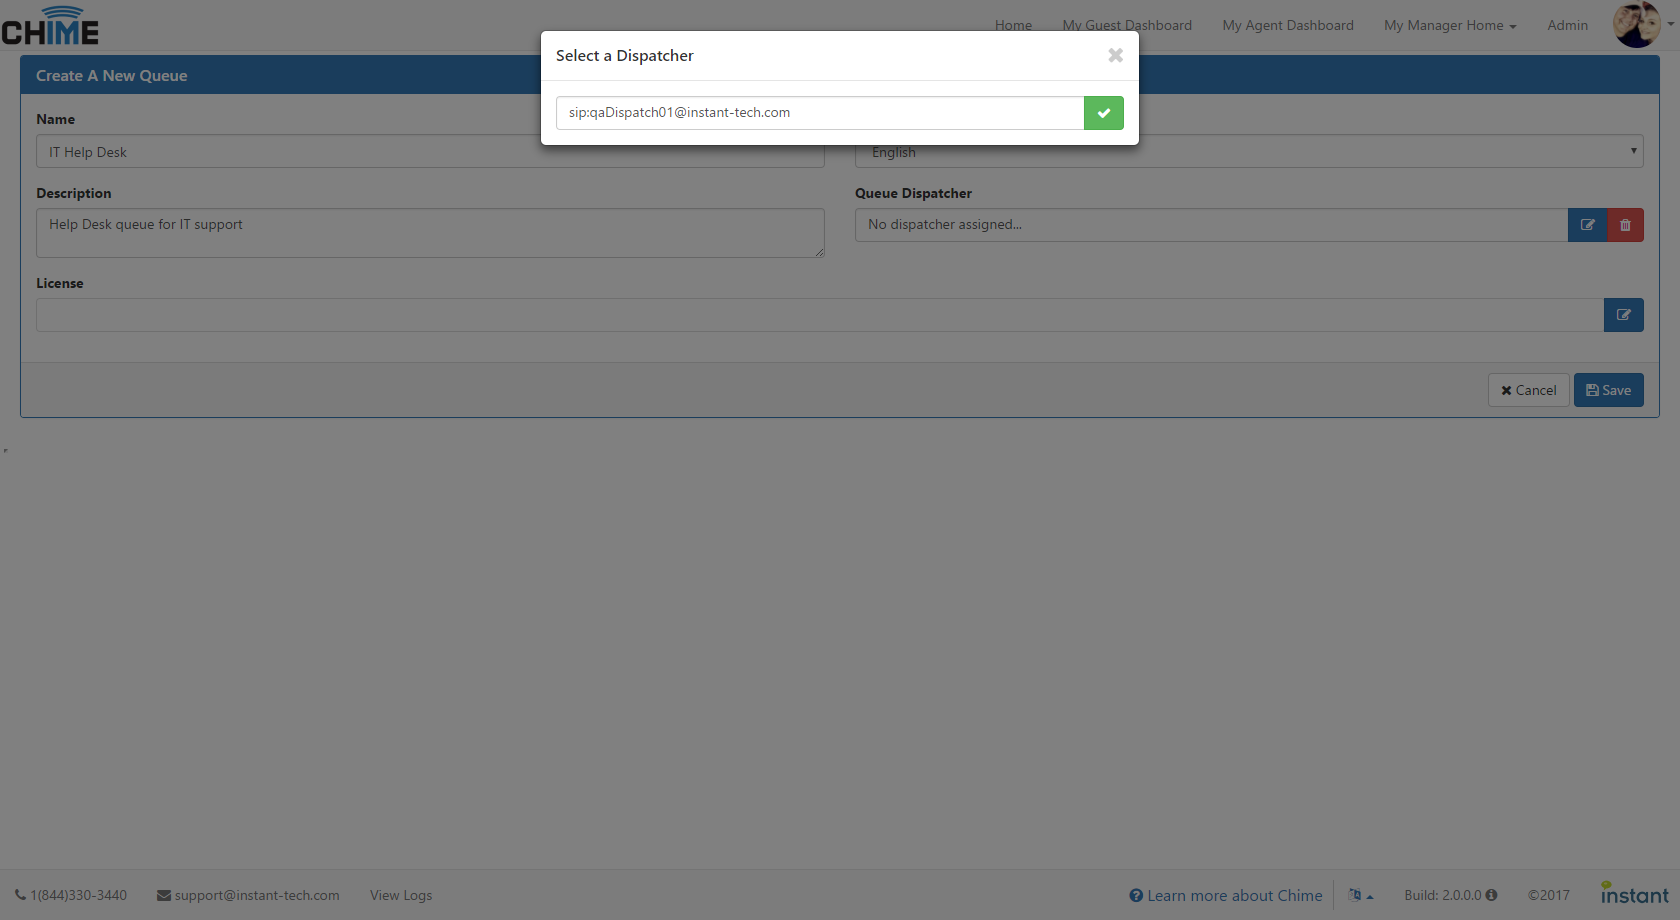
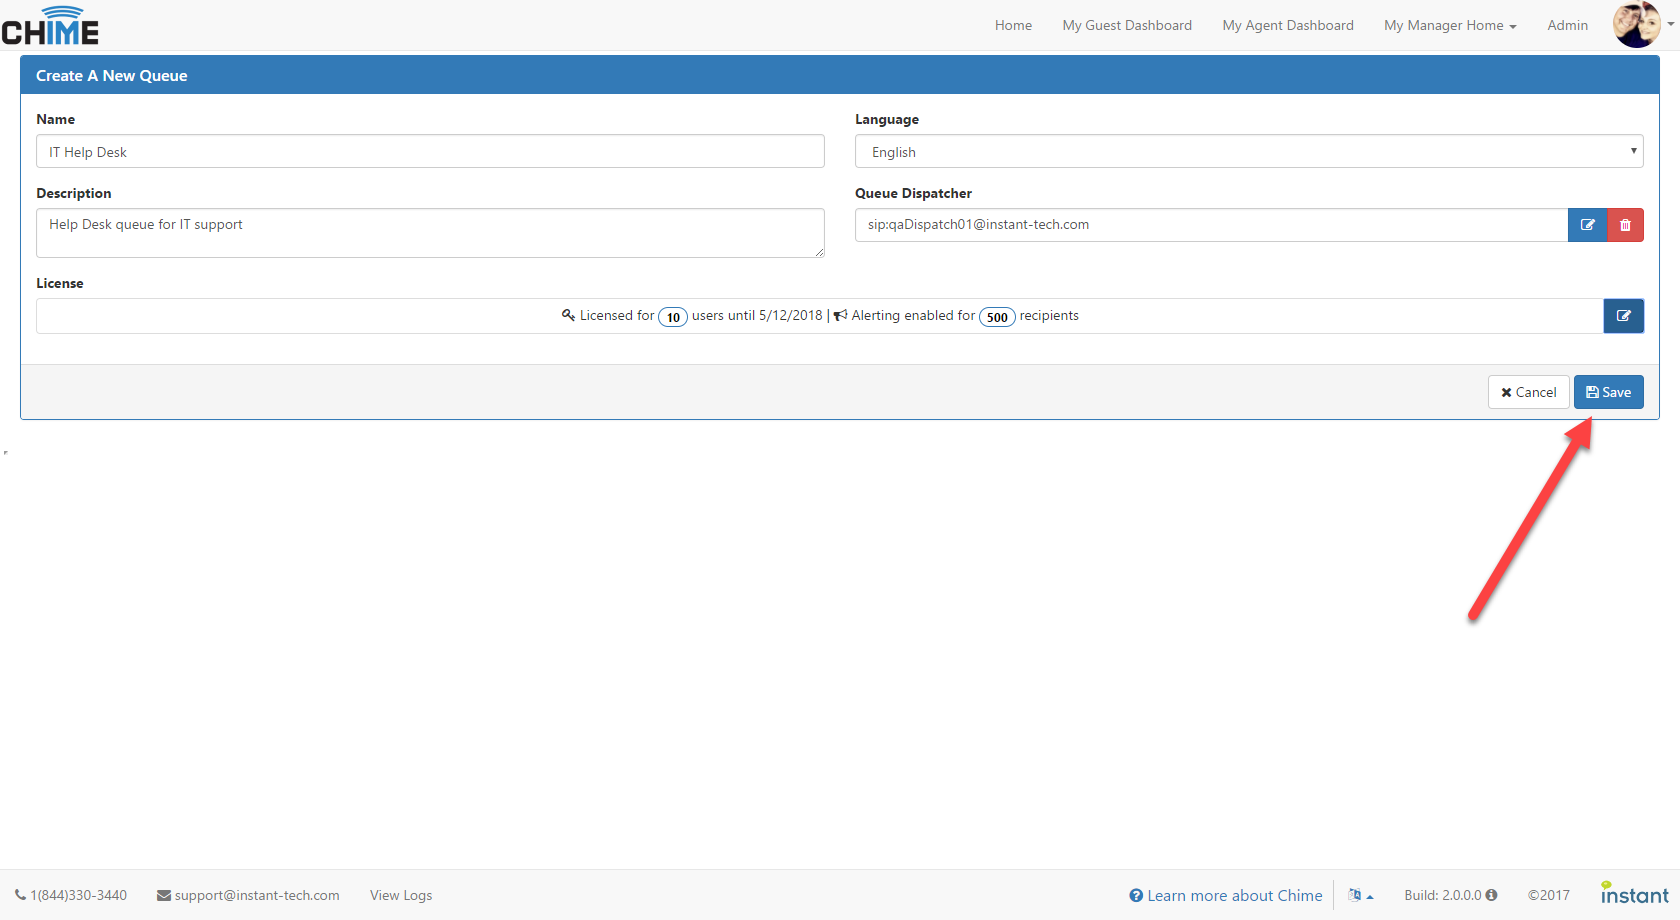
If you haven't already created a dispatcher, please create one in the Dispatchers section of the Admin area (Admin / Dispatchers).
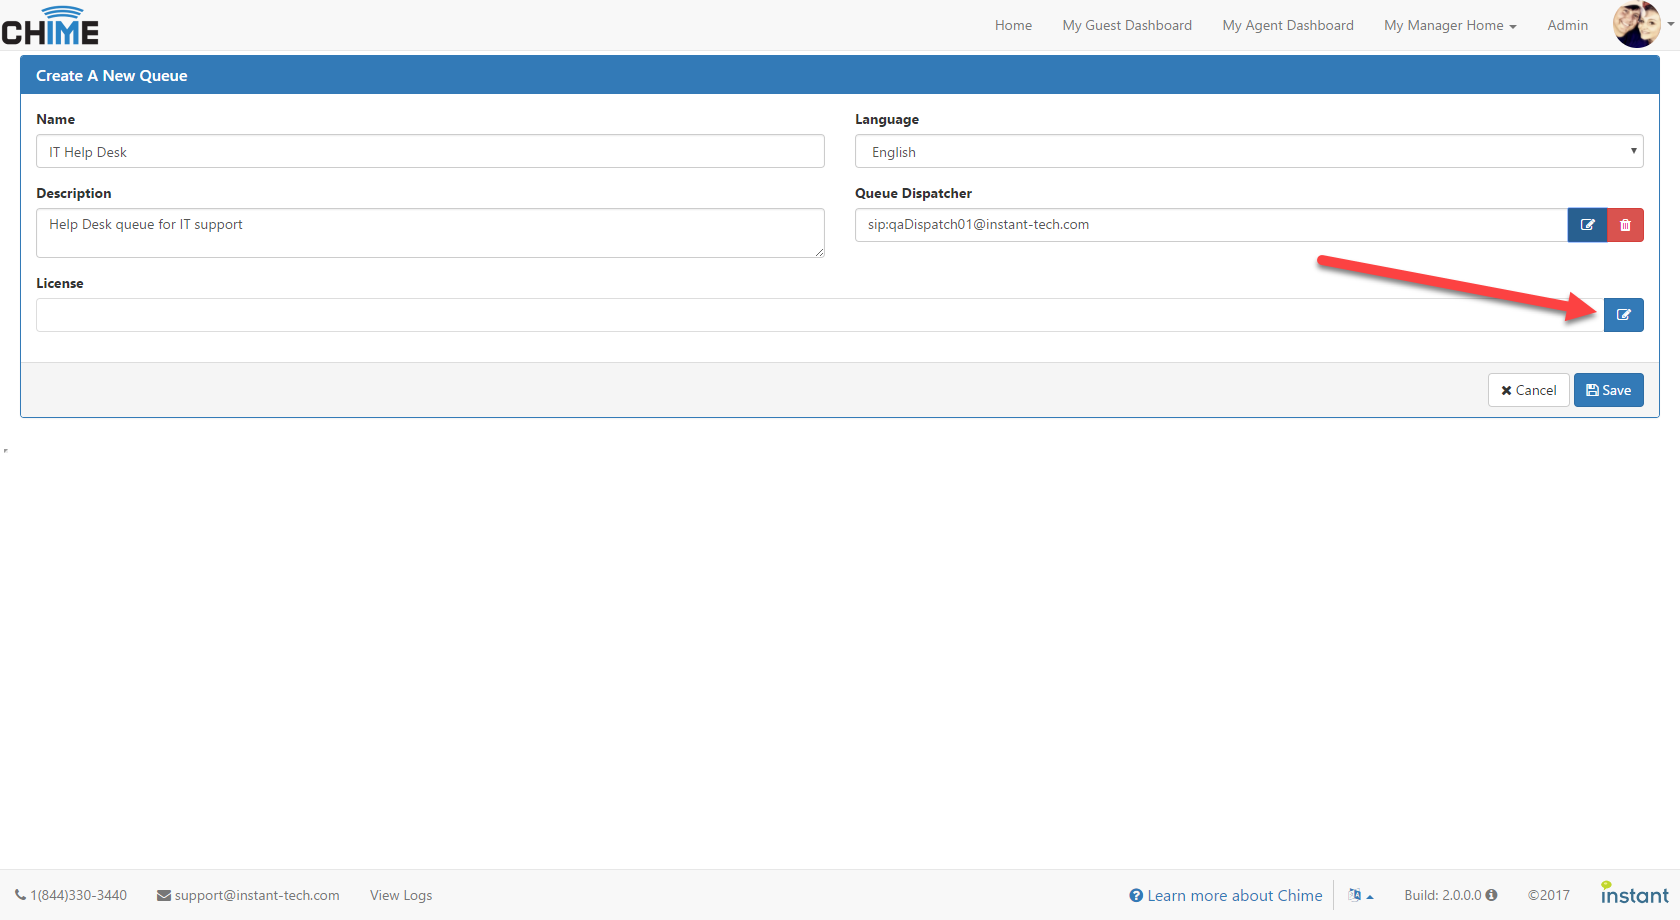
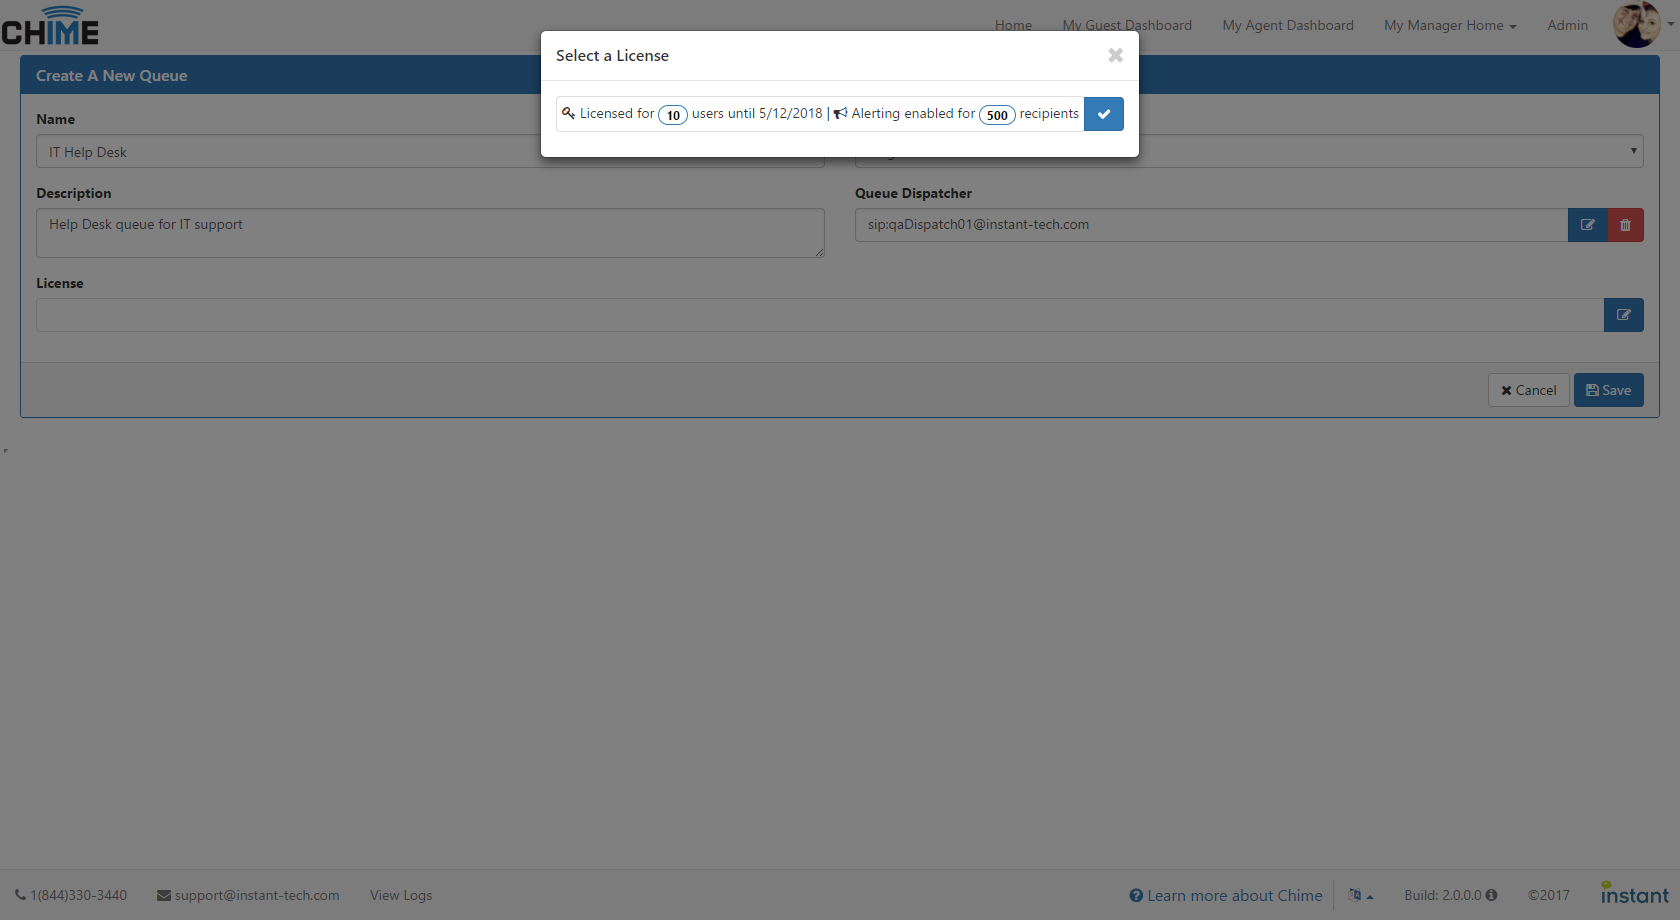
If you haven't already added a license, please add your license key in the Licenses section of Admin Settings (Admin / Settings / Licenses).
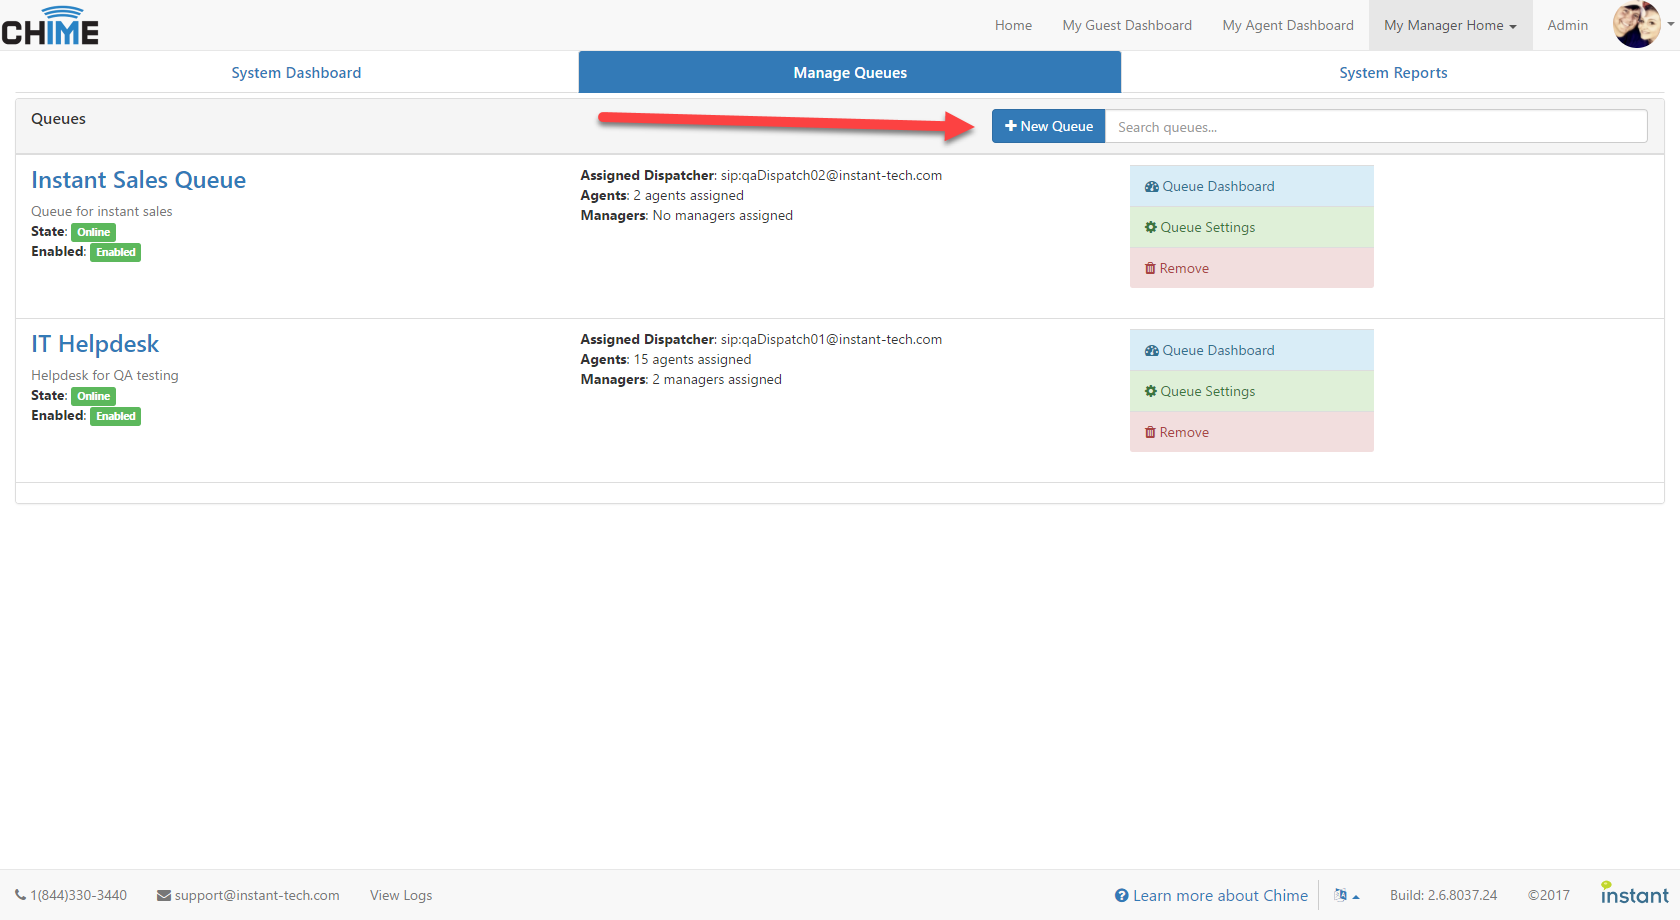
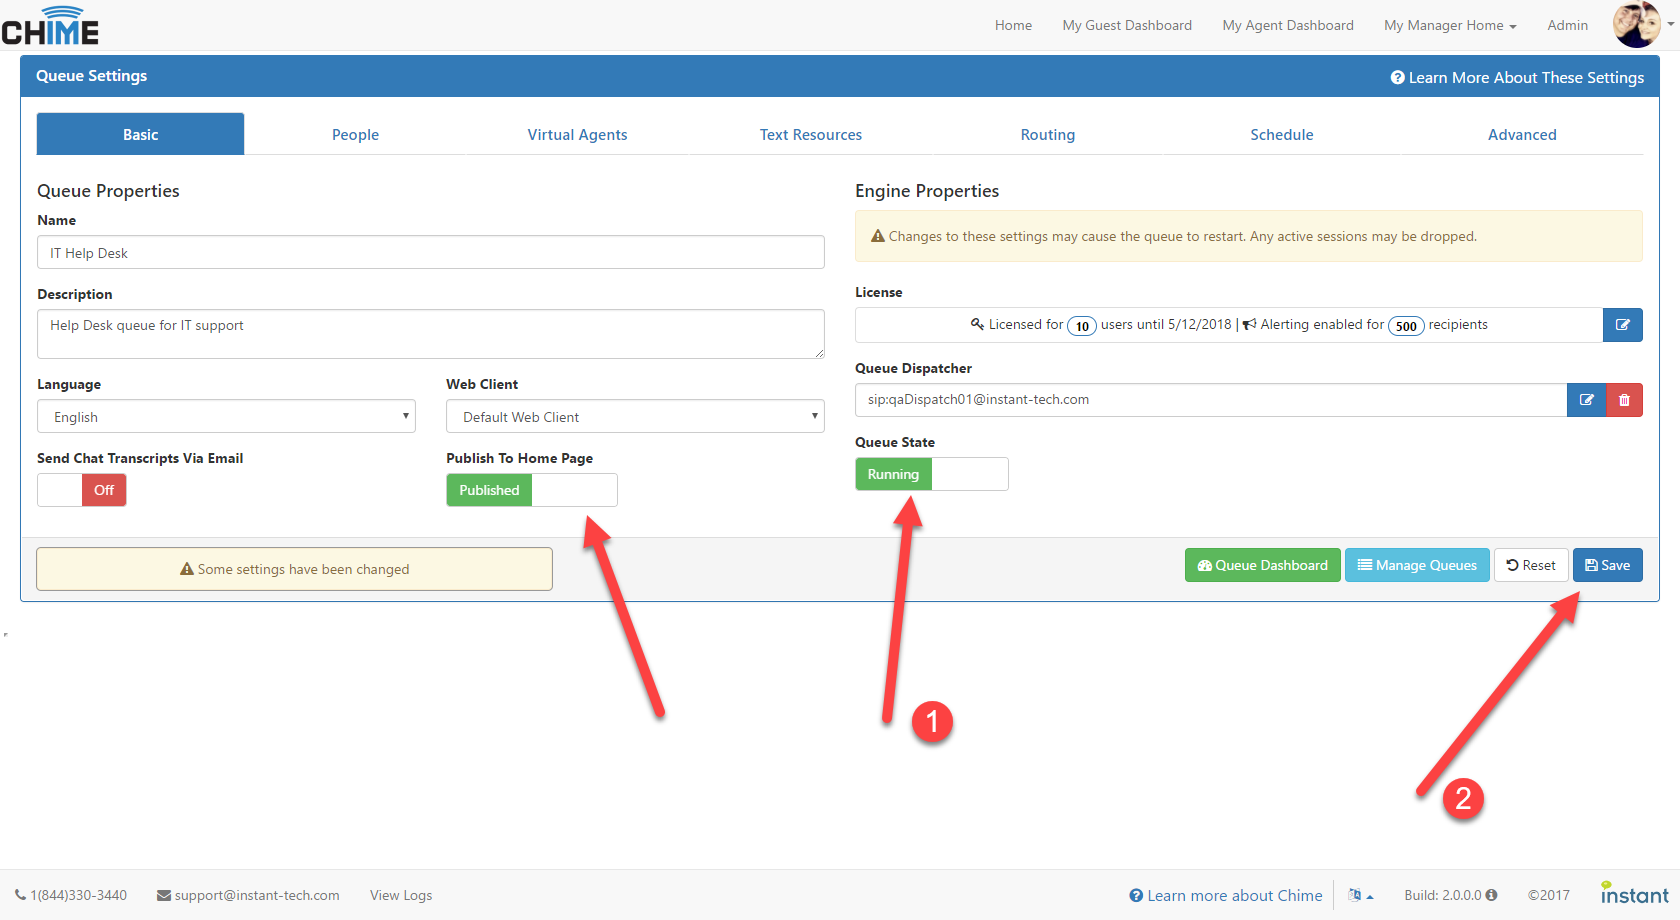
Most of what you see in this section should correlate to the information used when creating the queue. This area gives you the option to publish the queue to the Home page (what you see when you click the Home tab on the top nav bar), and the Queue State switch (the master switch for turning the queue on and off). Don't turn it on just yet. We have a few more settings to configure first.
To learn more about Basic settings, visit the Basic help page.
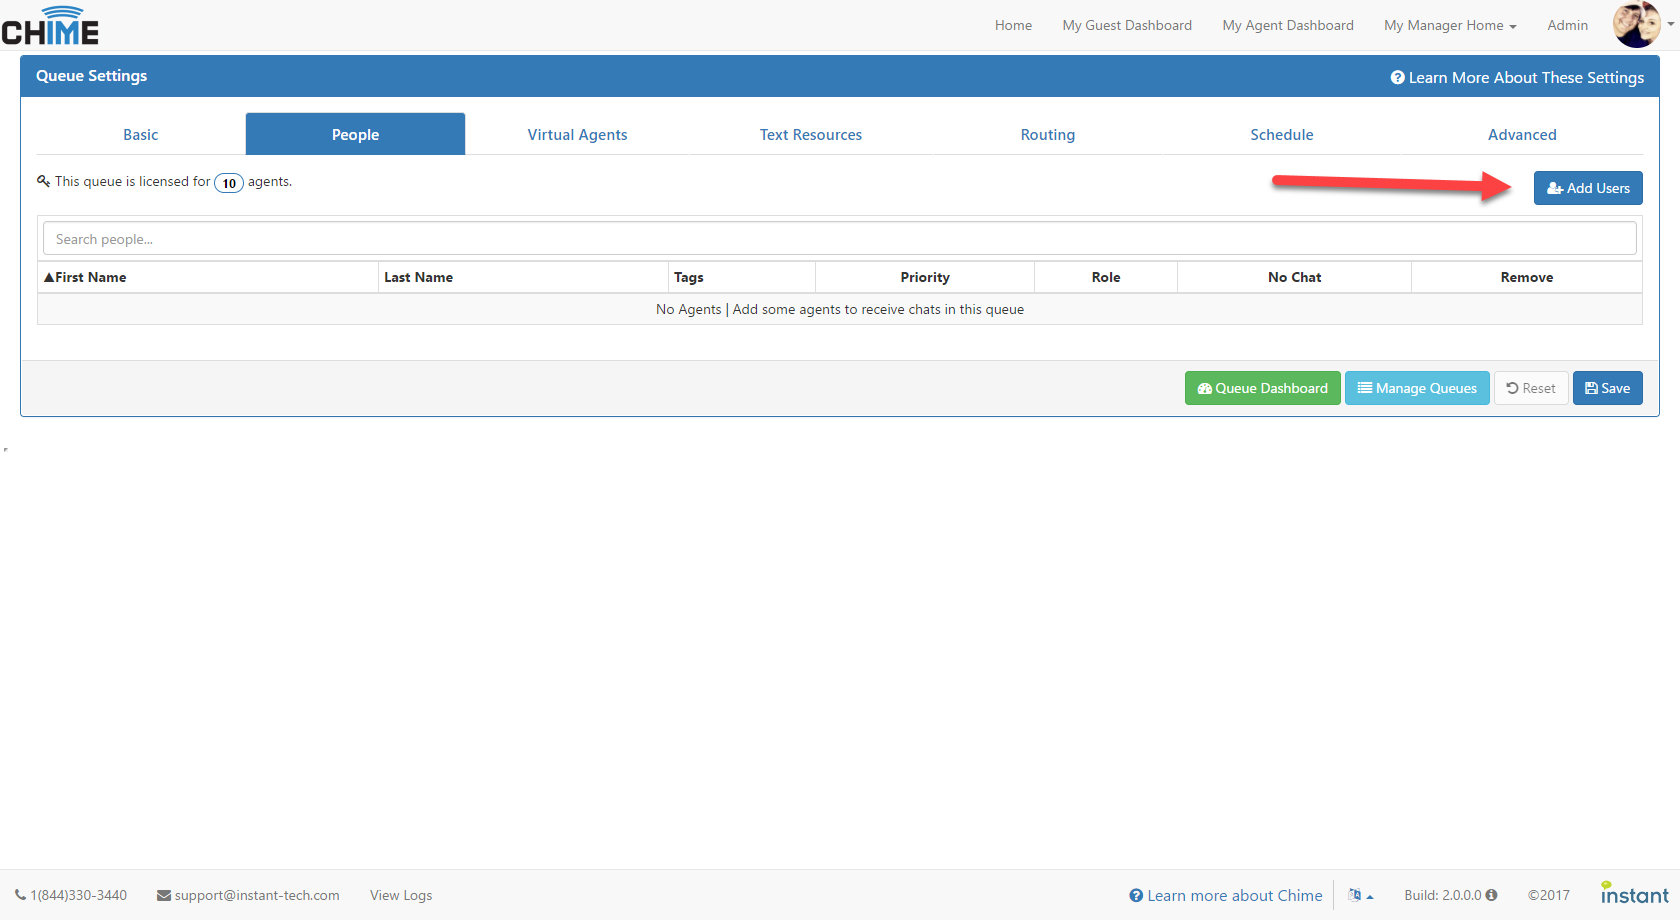
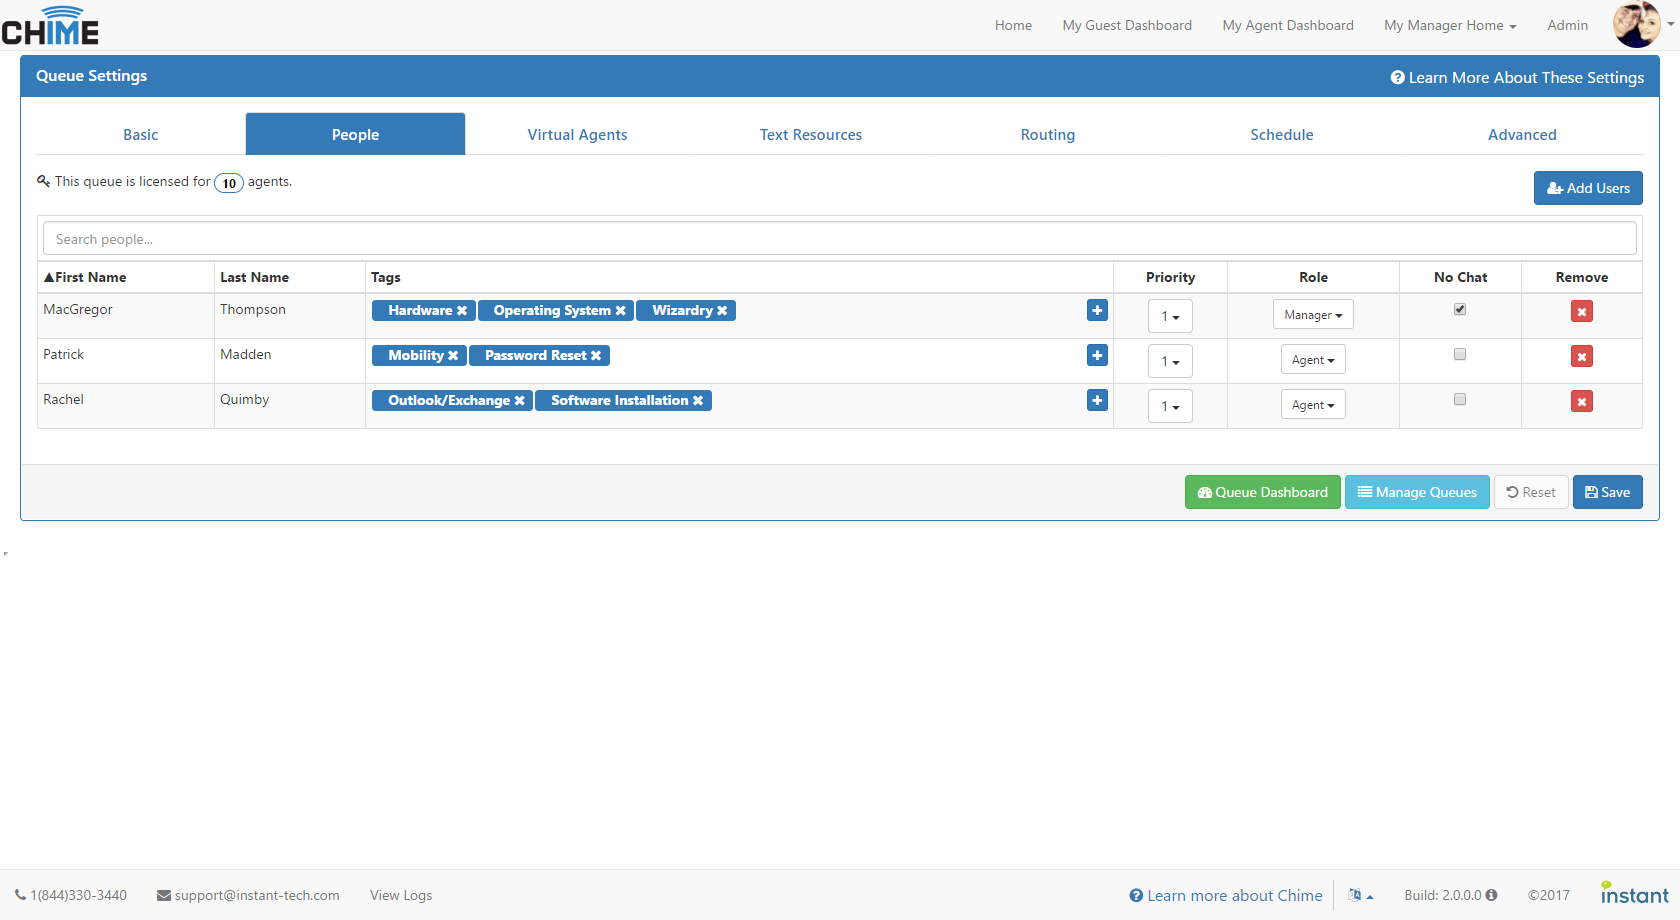
To learn more about People, visit the People help page.
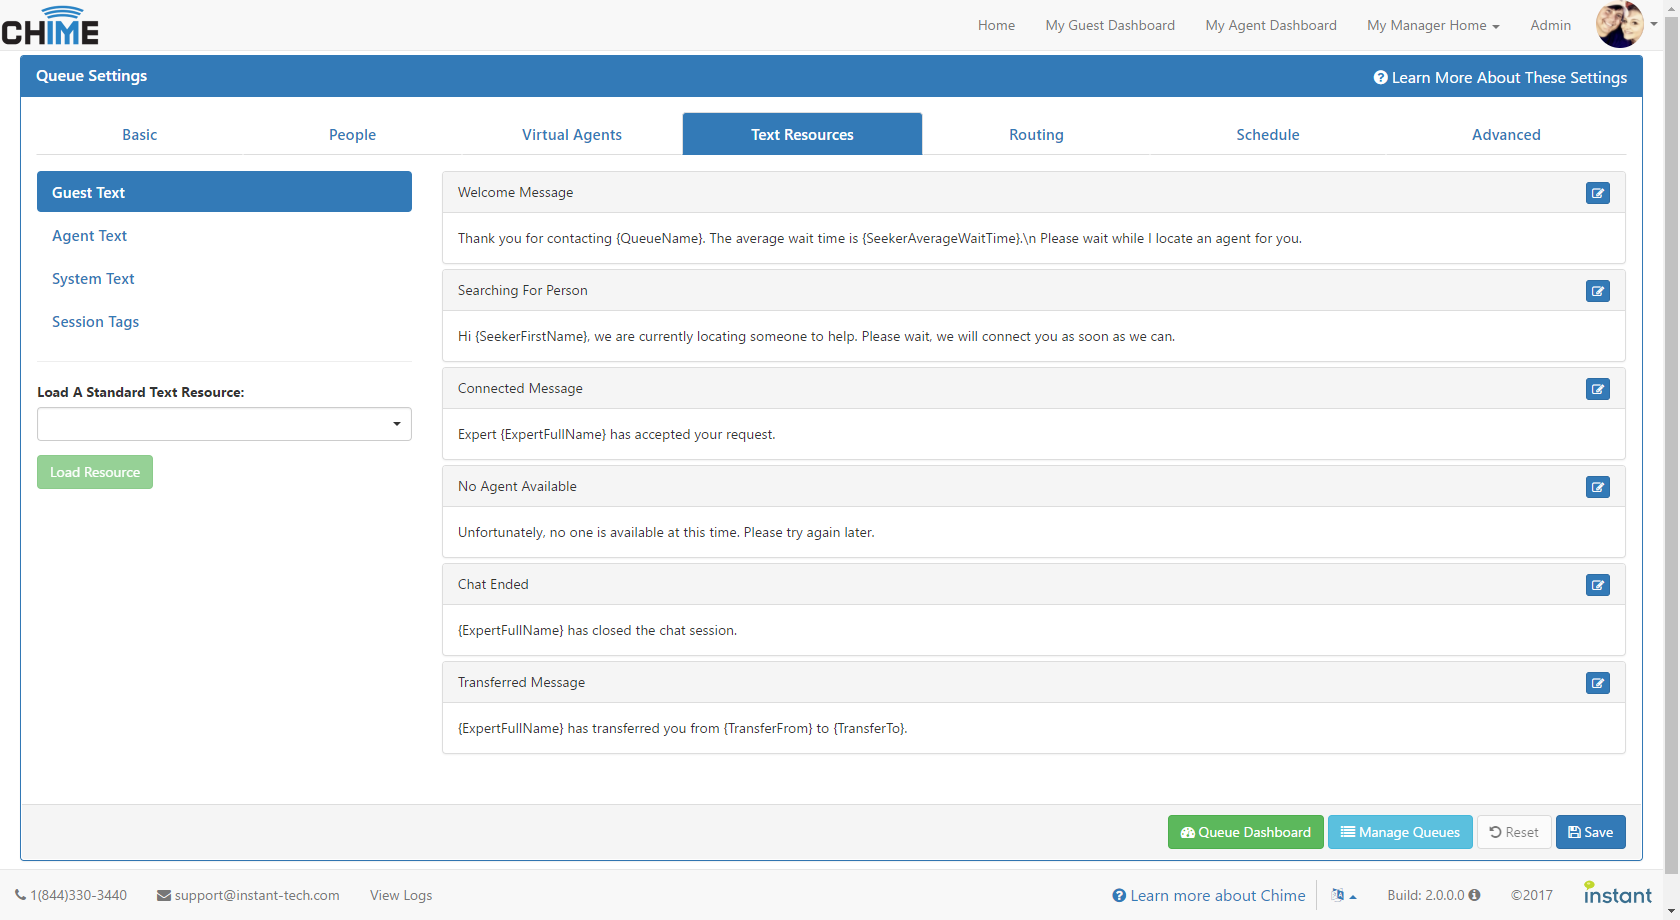
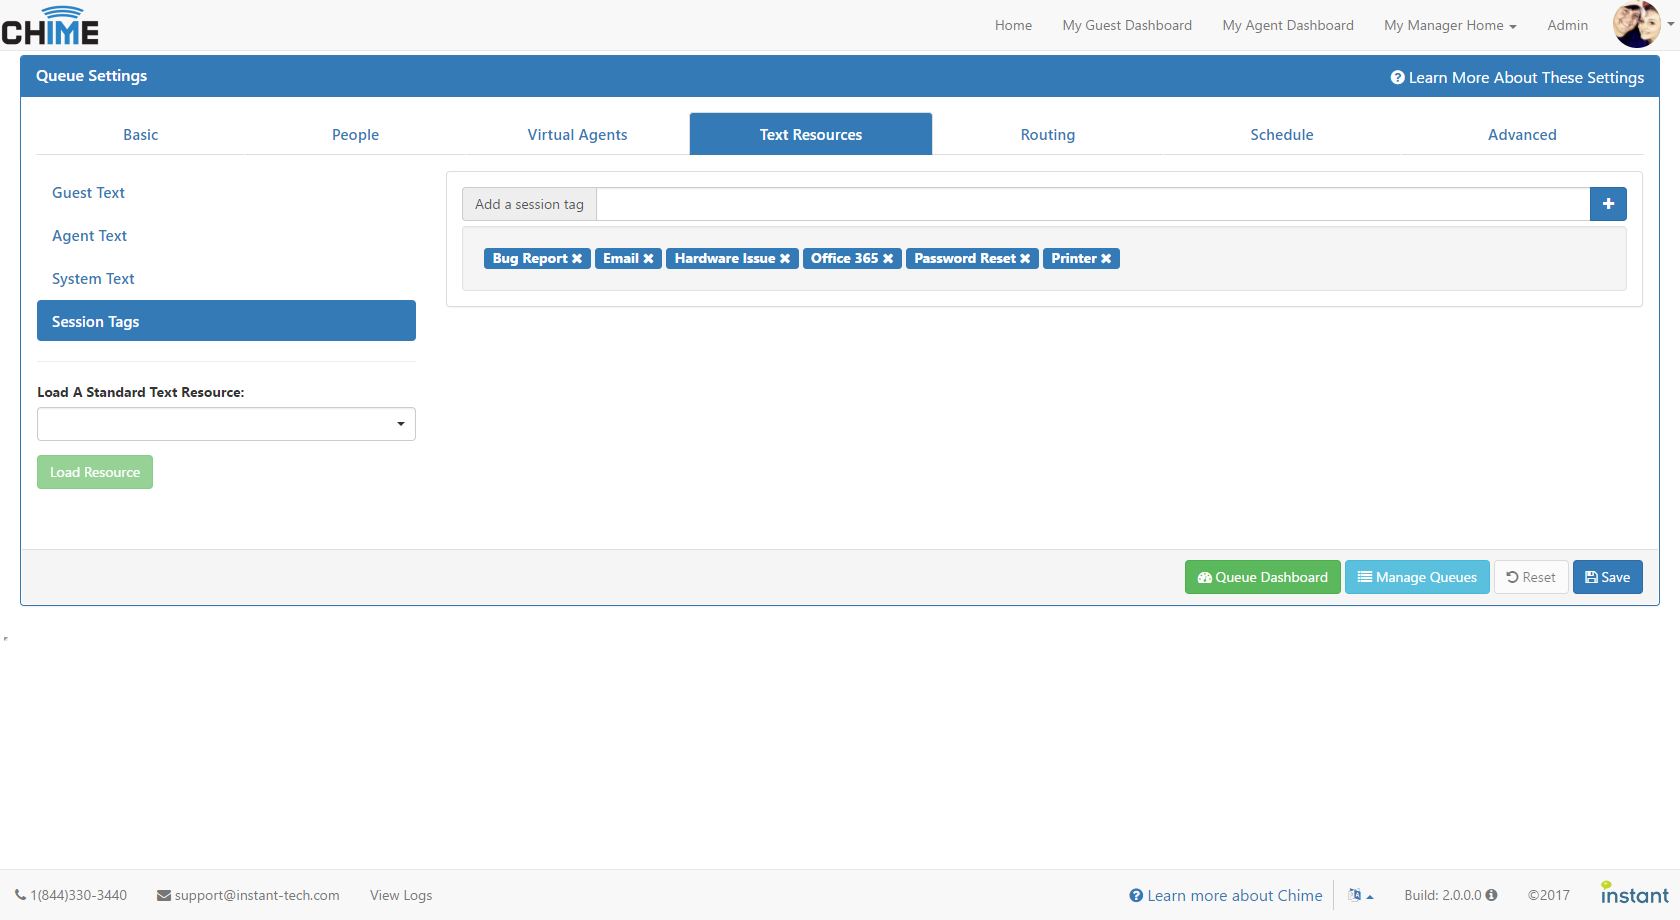
Text resources are customizable messages that Chime will use when connecting people via chat. Session tags allow agents to attach certain keywords to specific chats. You can customize these at any time.
To learn more about Text Resources and Session Tags, visit the Text Resources help page.
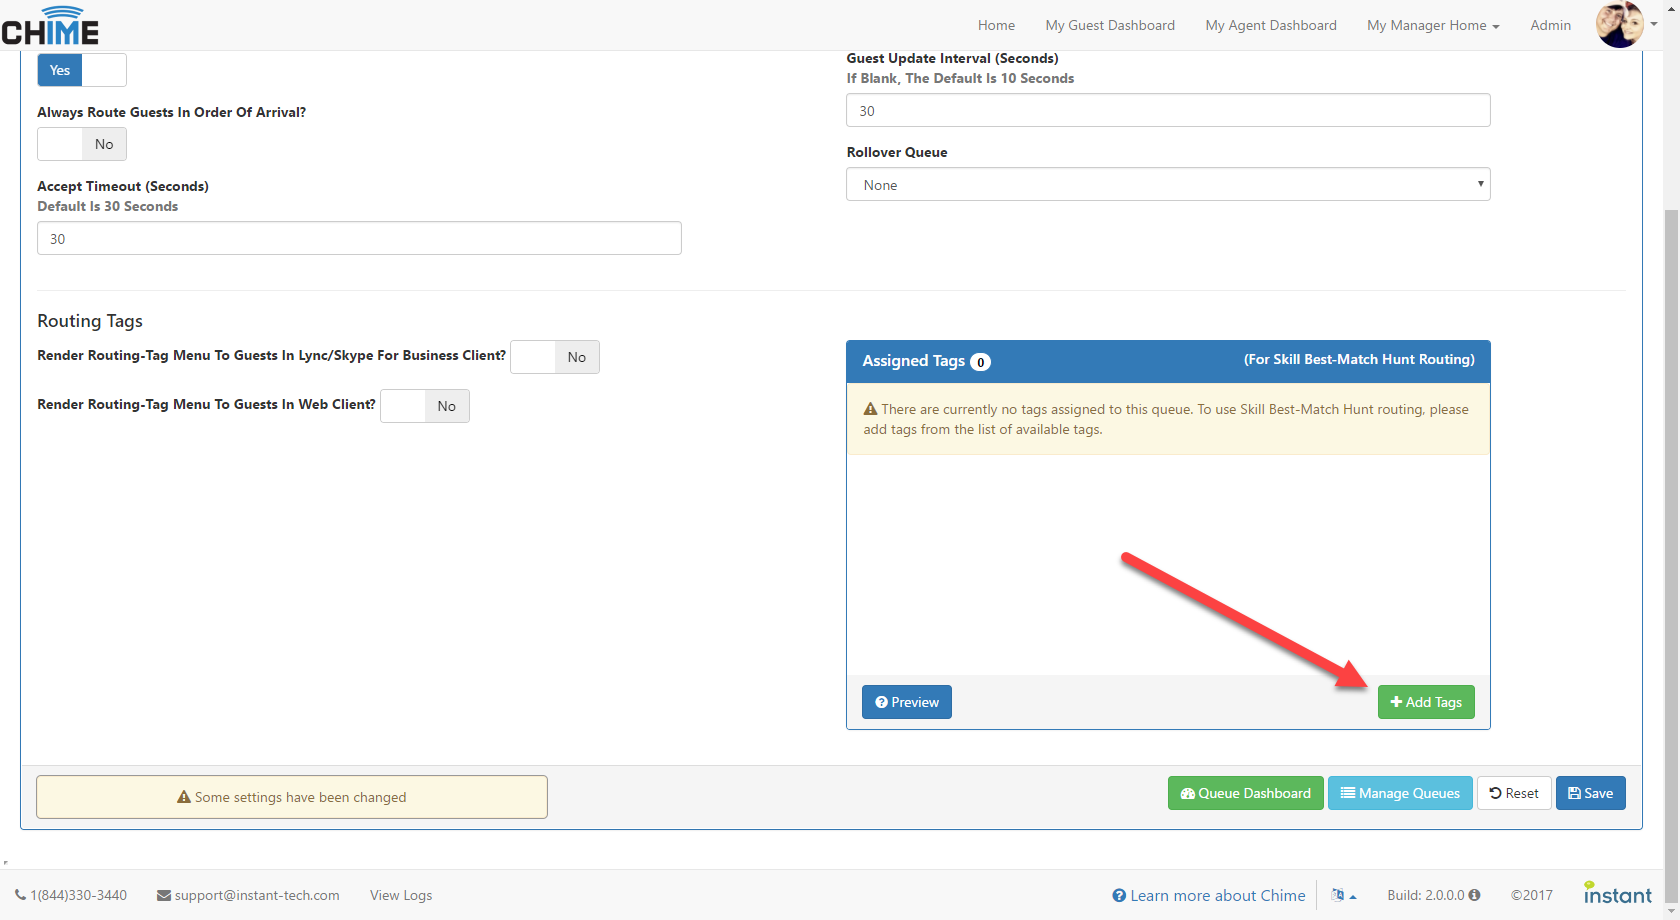
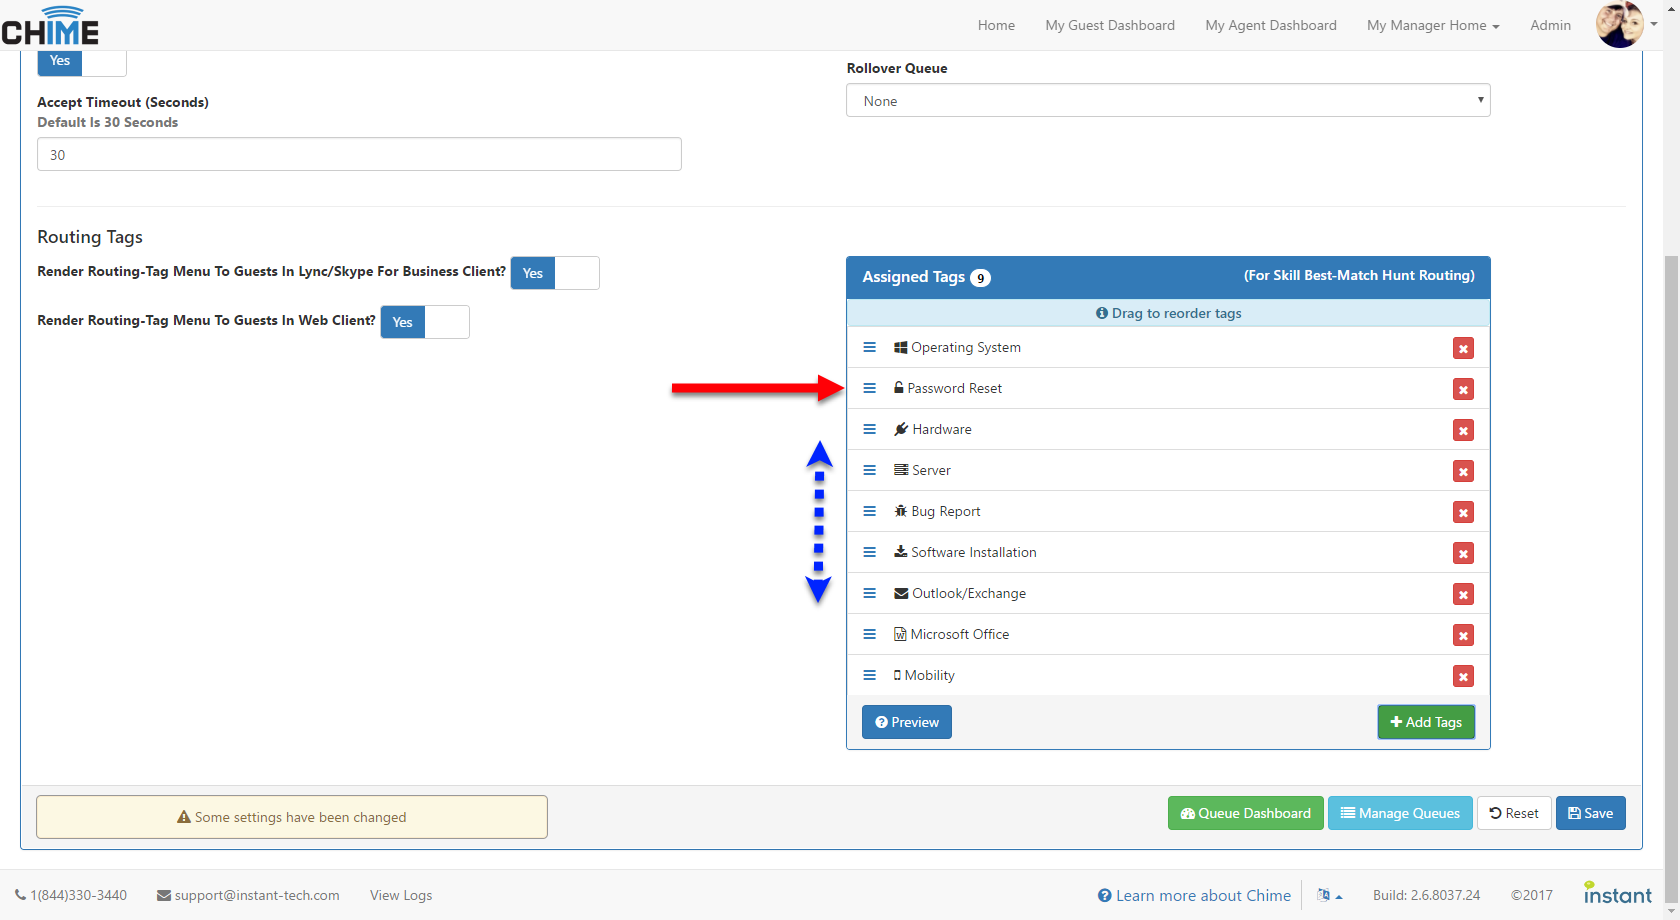
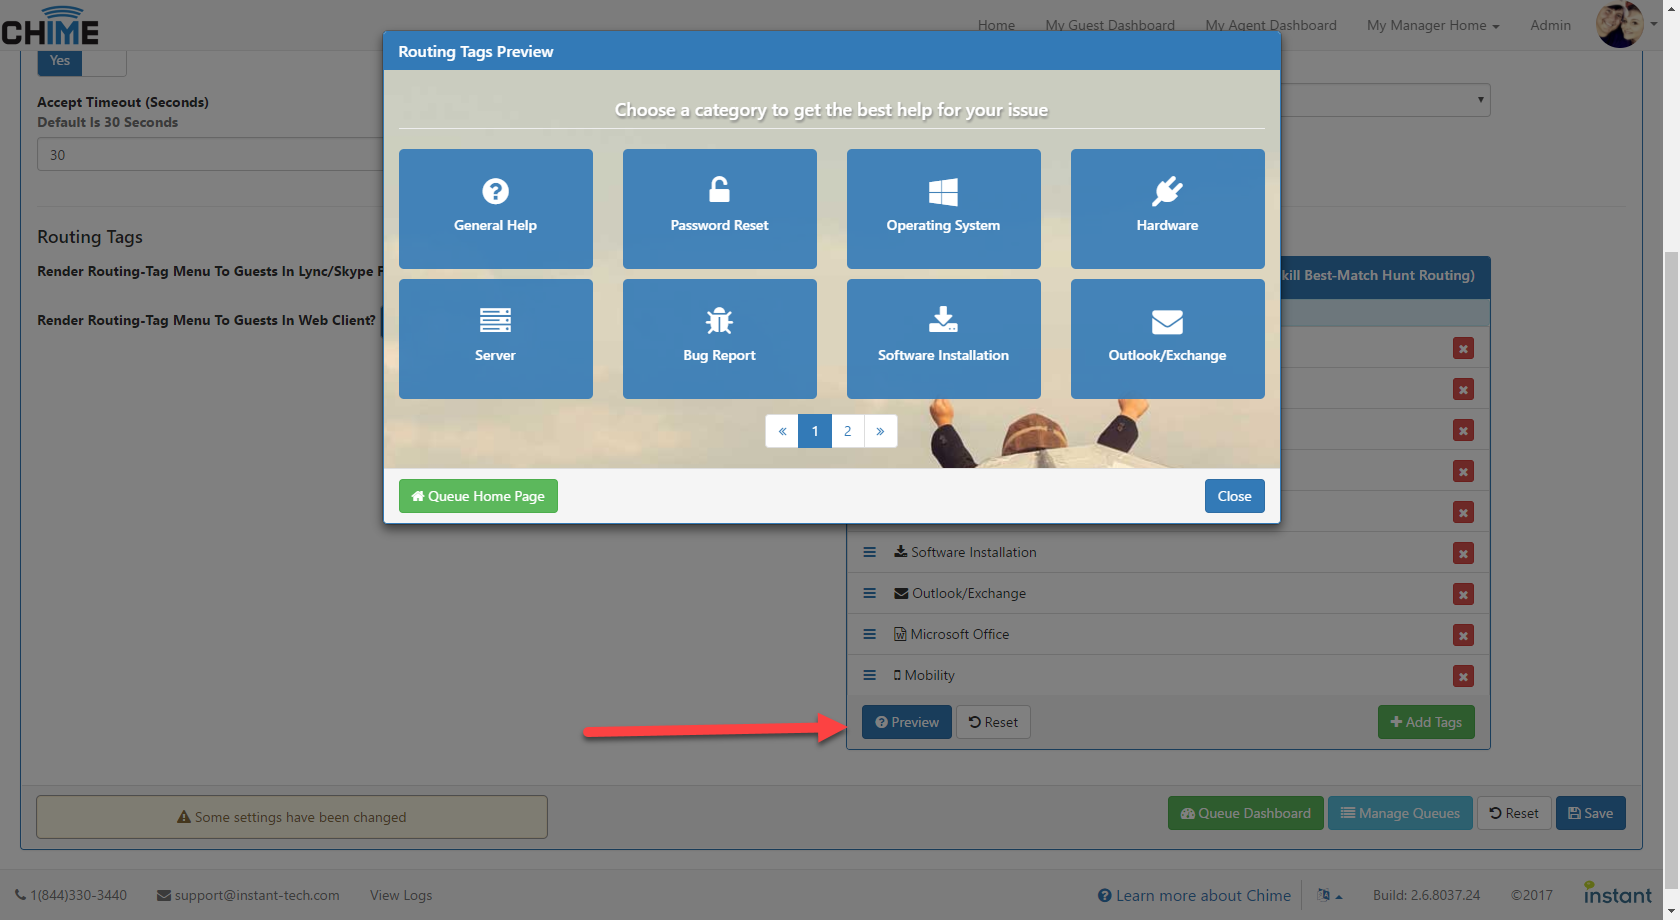
The routing method is how the queue dispatches chat requests across agents in the queue. Choose the routing method you wish to use. Depending on the routing method selected, other options may become available.
To learn more about Routing, visit the Routing help page.
You can configure the queue to become active based on a schedule or agent availability. If you want it to be on a schedule, choose "Schedule" from the Queue Availability Mode dropdown menu and then set your preferred schedule.
To learn more about Schedule, visit the Schedule help page.
The advanced settings section allows you to configure things such as the queue image, queue target values, whether or not to allow agents to enable/disable themselves or send an email when a guest times out.
To learn more about Advanced settings, visit the Advanced help page.
Last but not least, go back to Basic settings, and flip the Queue State switch to "Running" to turn the queue on. If you want to publish this queue to the Chime Home page, flip the Publish To Home Page switch to "Published." And that's it!

 Creating and Configuring a Queue (19)