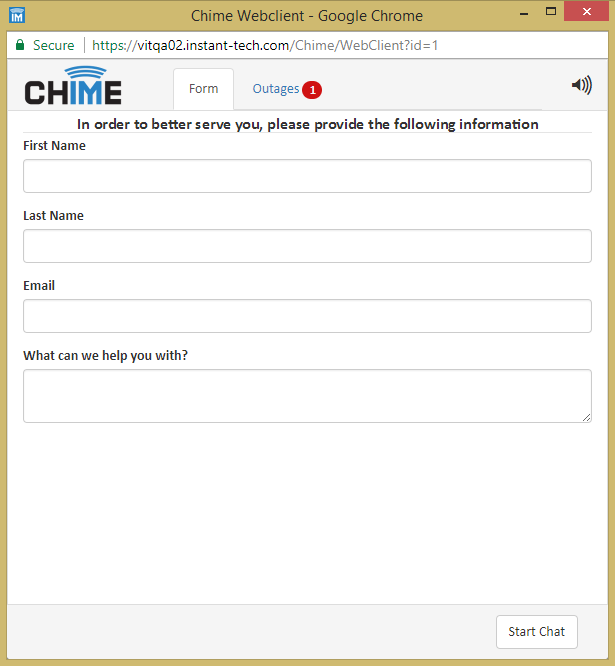
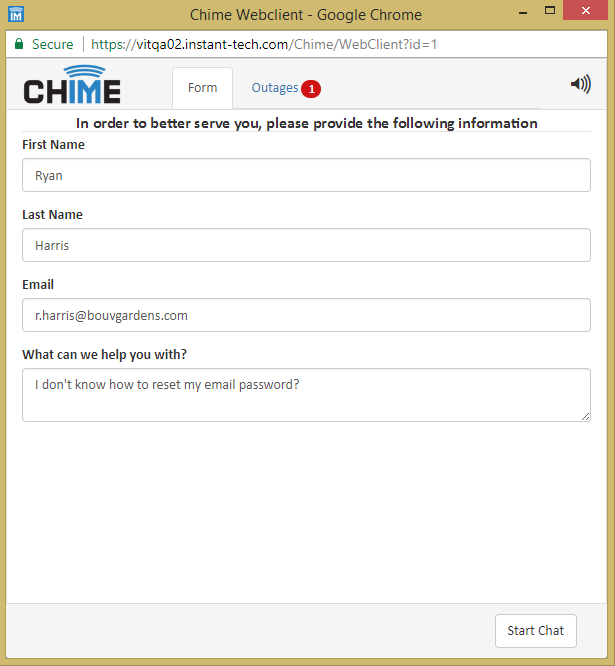
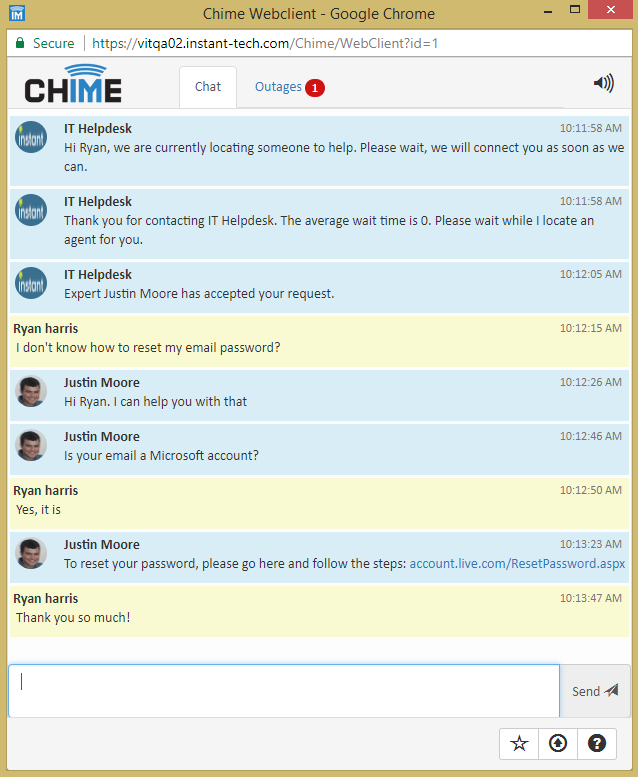
Before using Chime, it is good to know what an Agent's duties are, what resources they have available to them and how to use the Chime Web UI as well as the Teams Client. This guide will provide general information about how Chime works, where guests will be coming from, how to accept chats, use translation and many other features.
The Chime Agent Training Guide will walk you through how to use all of Chimes Agent features.


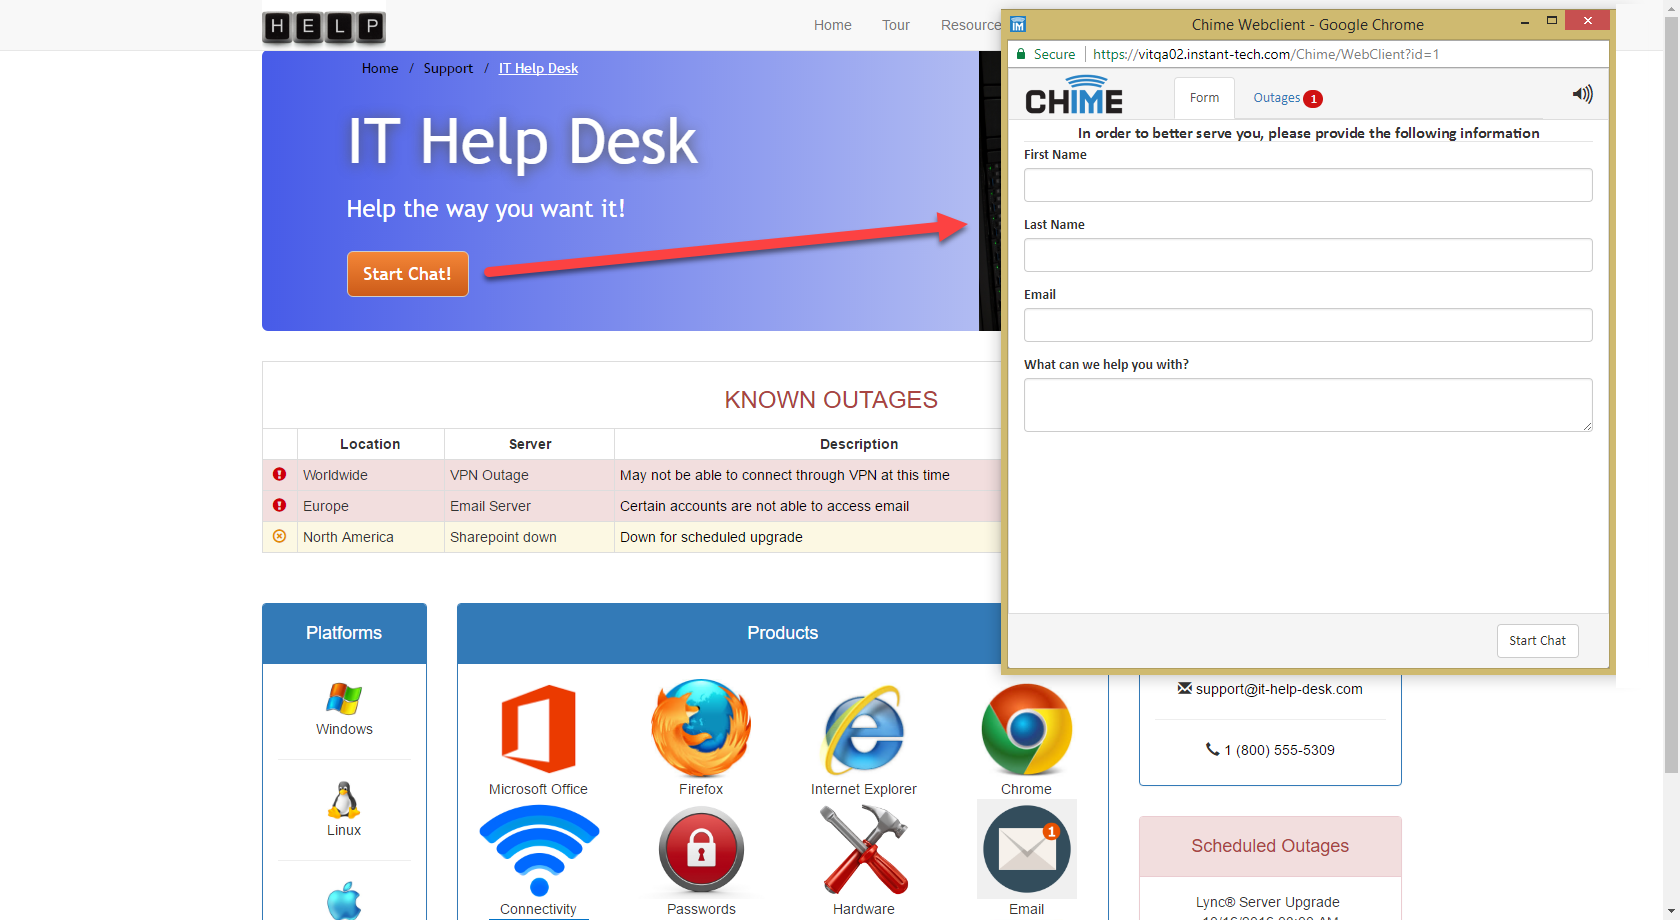
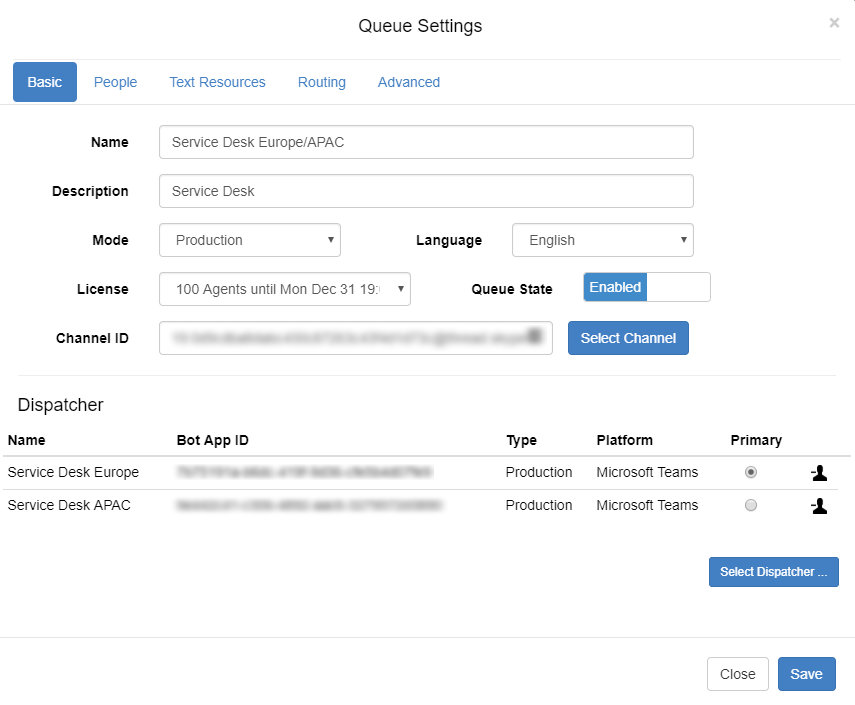
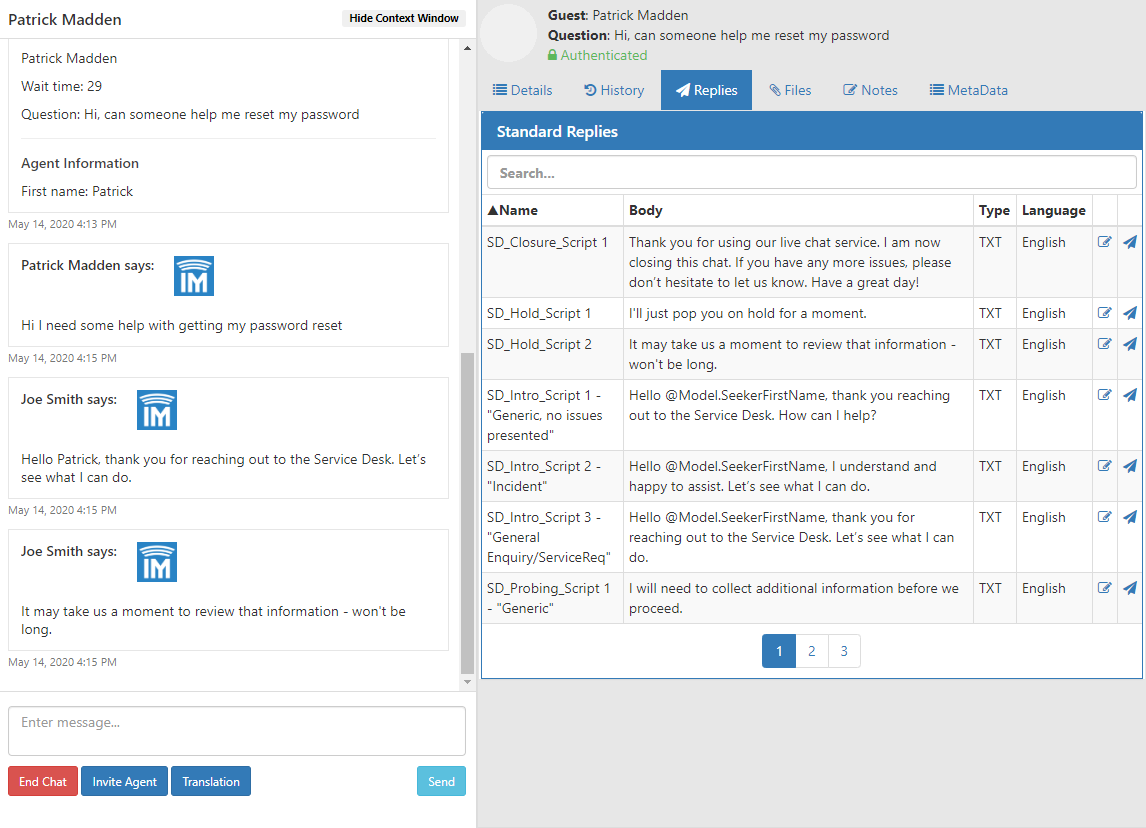
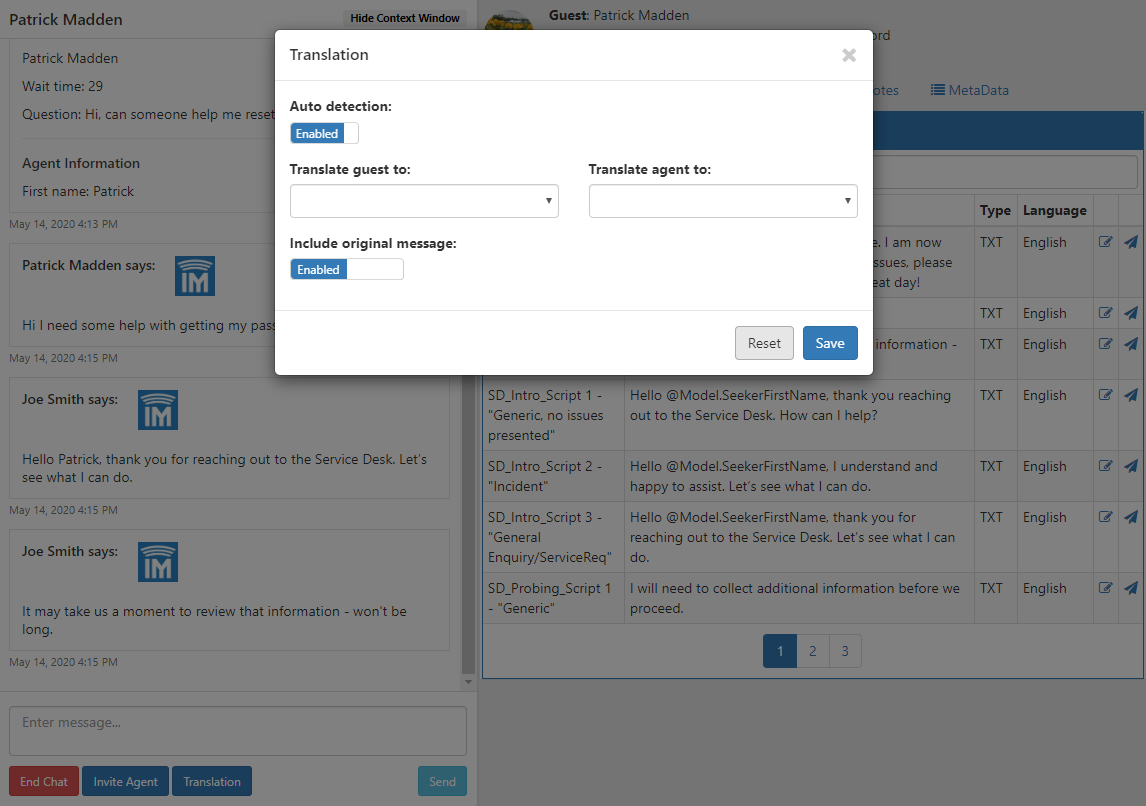
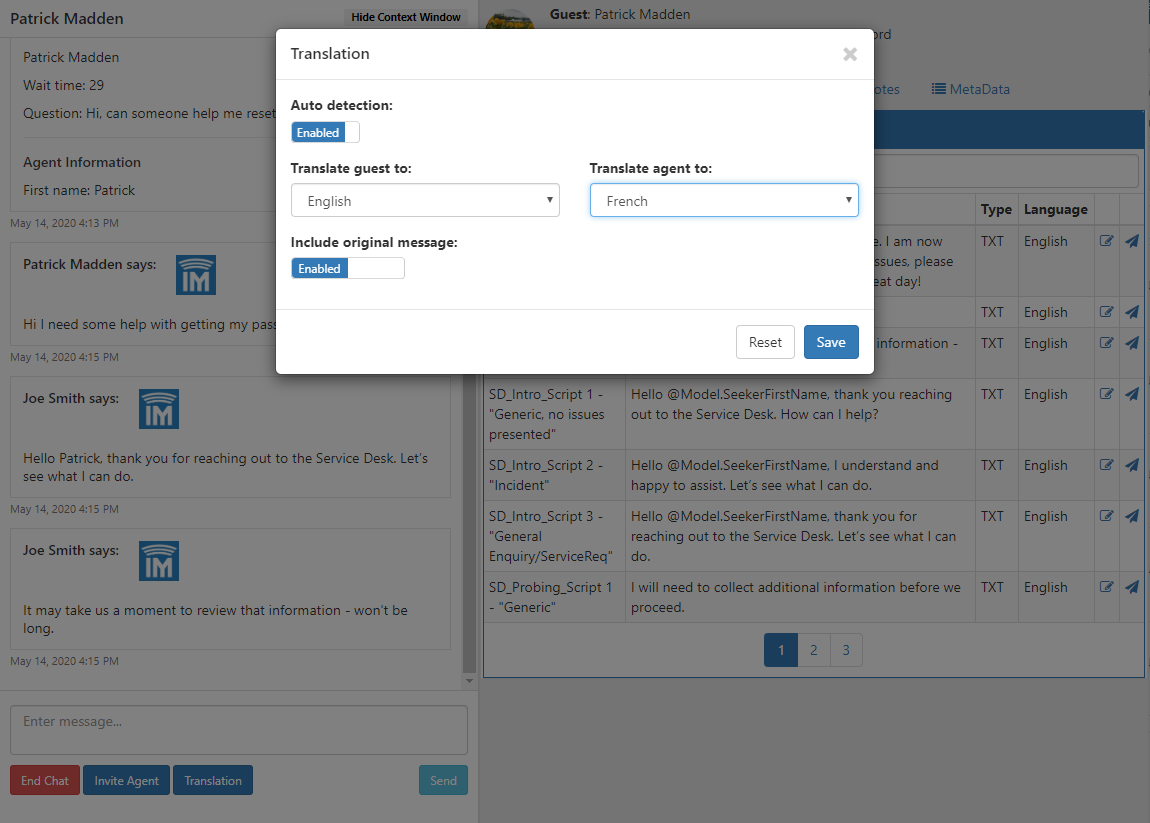
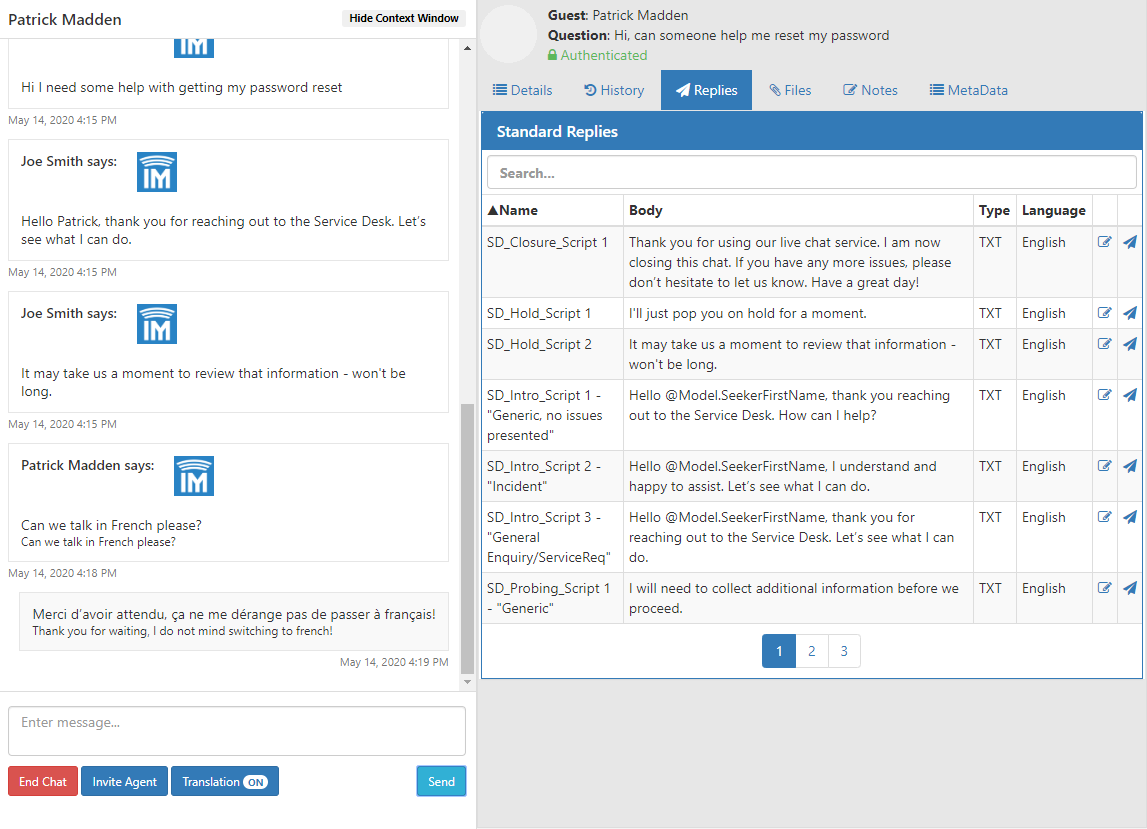
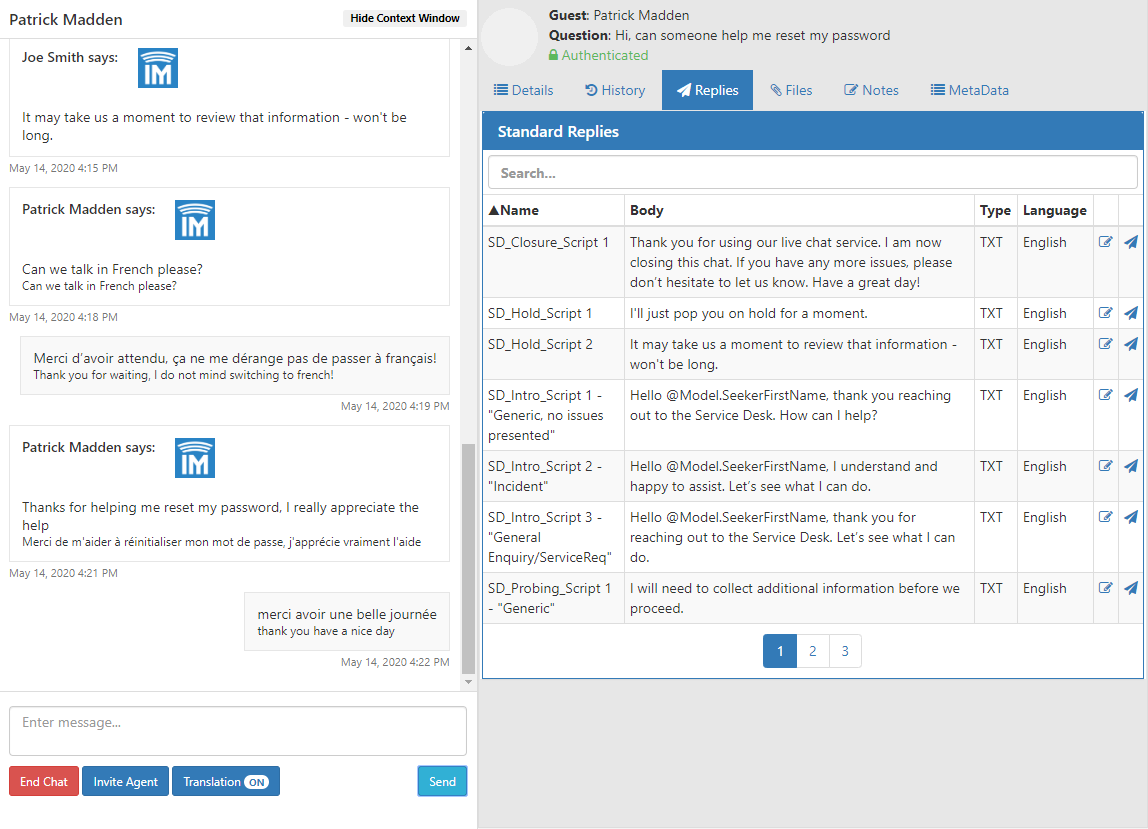
 Agent using the Web UI and Translation Tool (7)
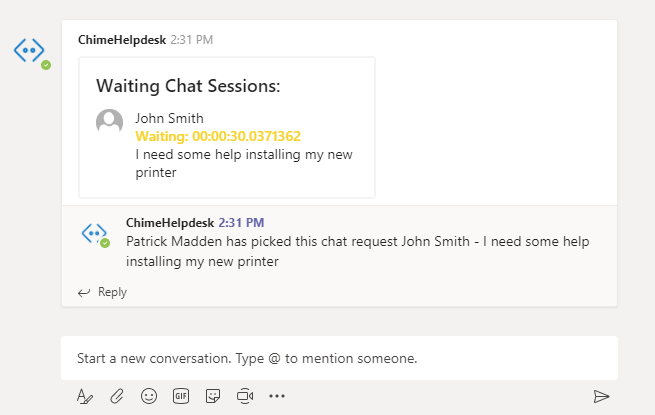
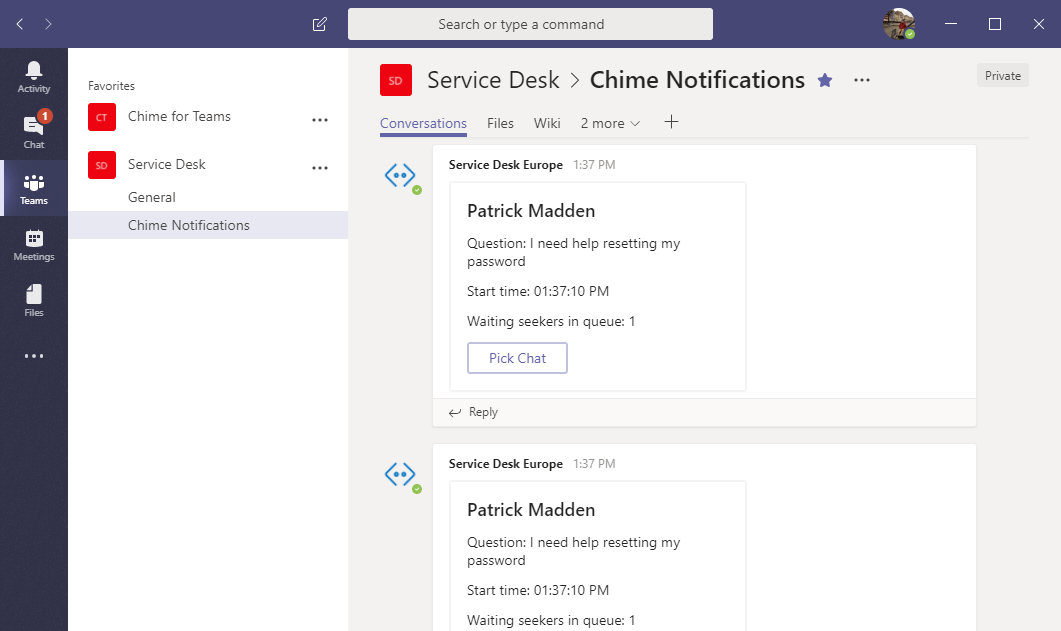
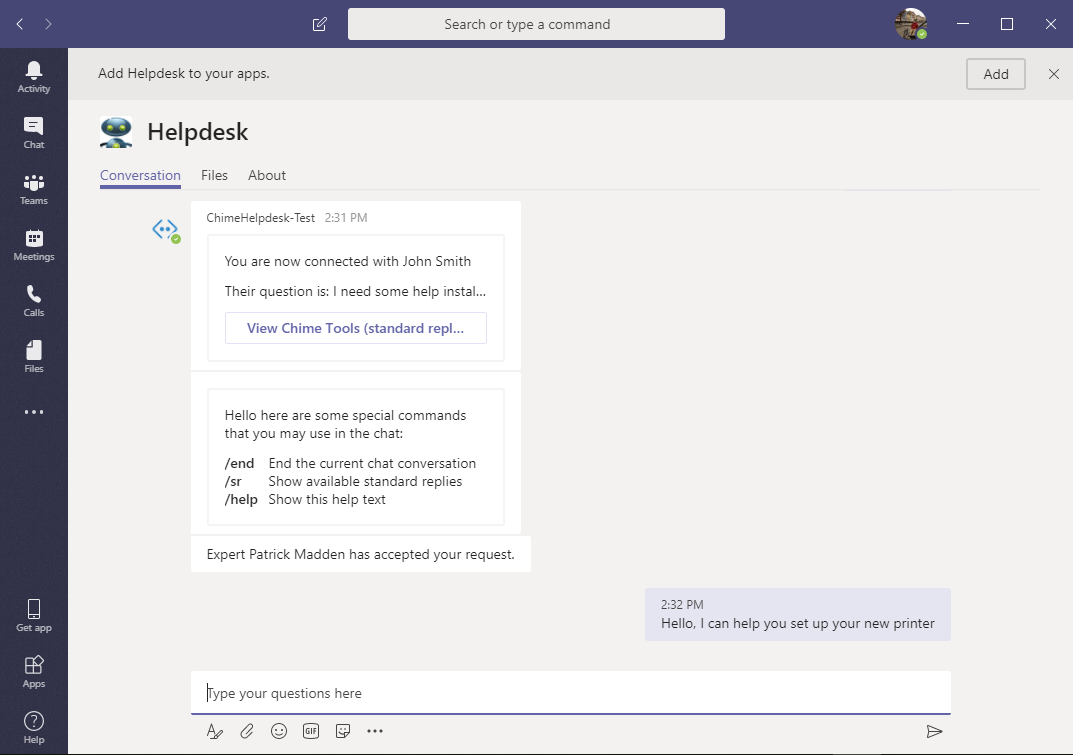
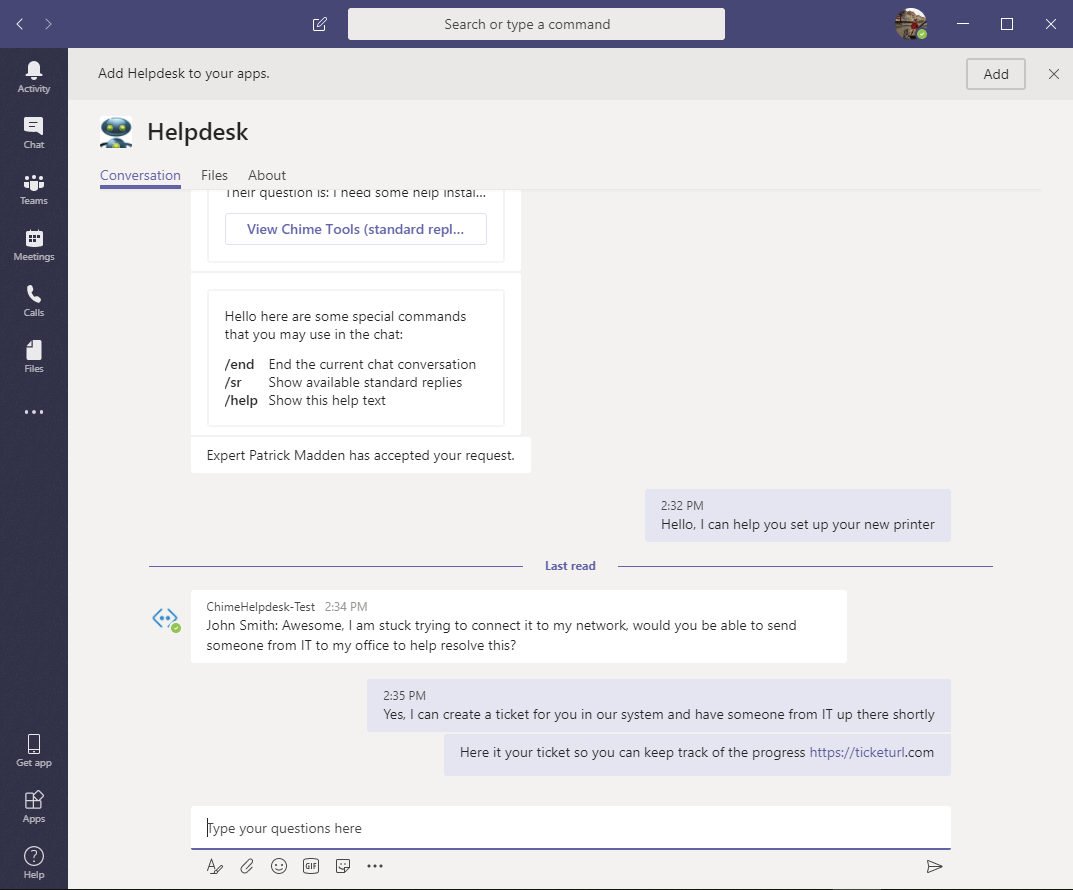
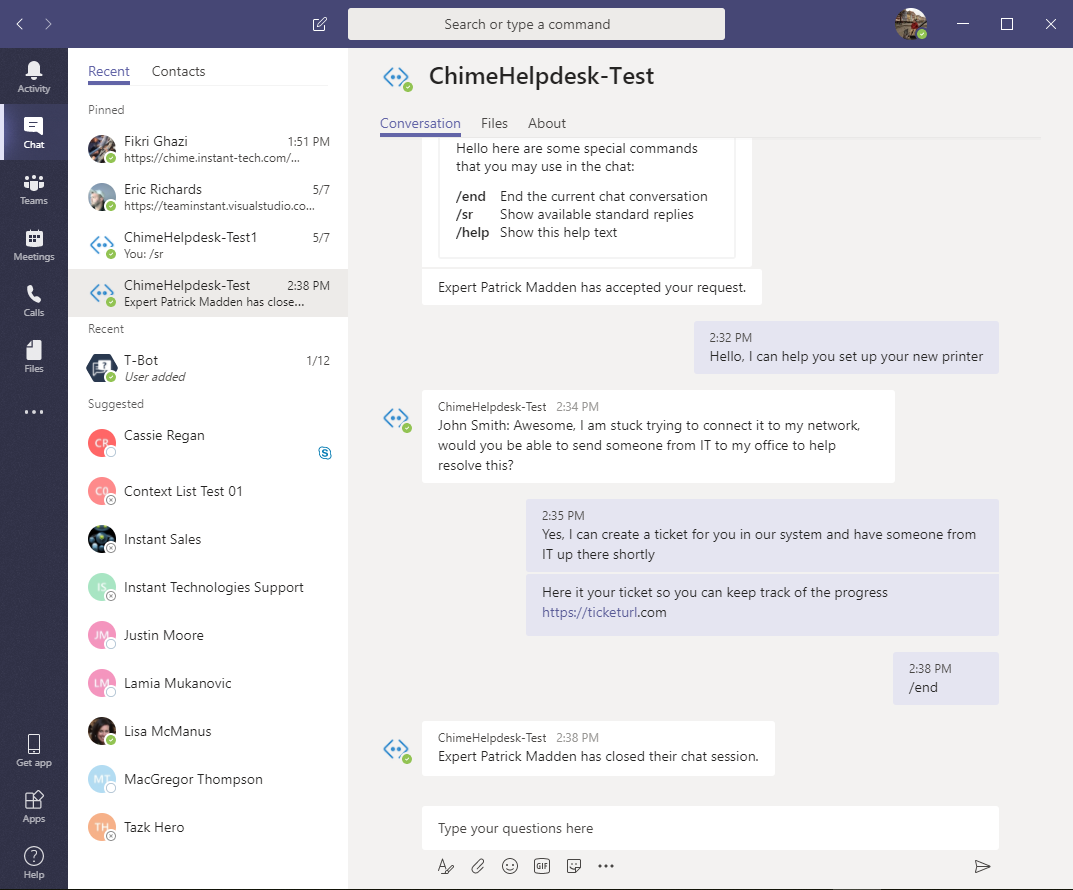
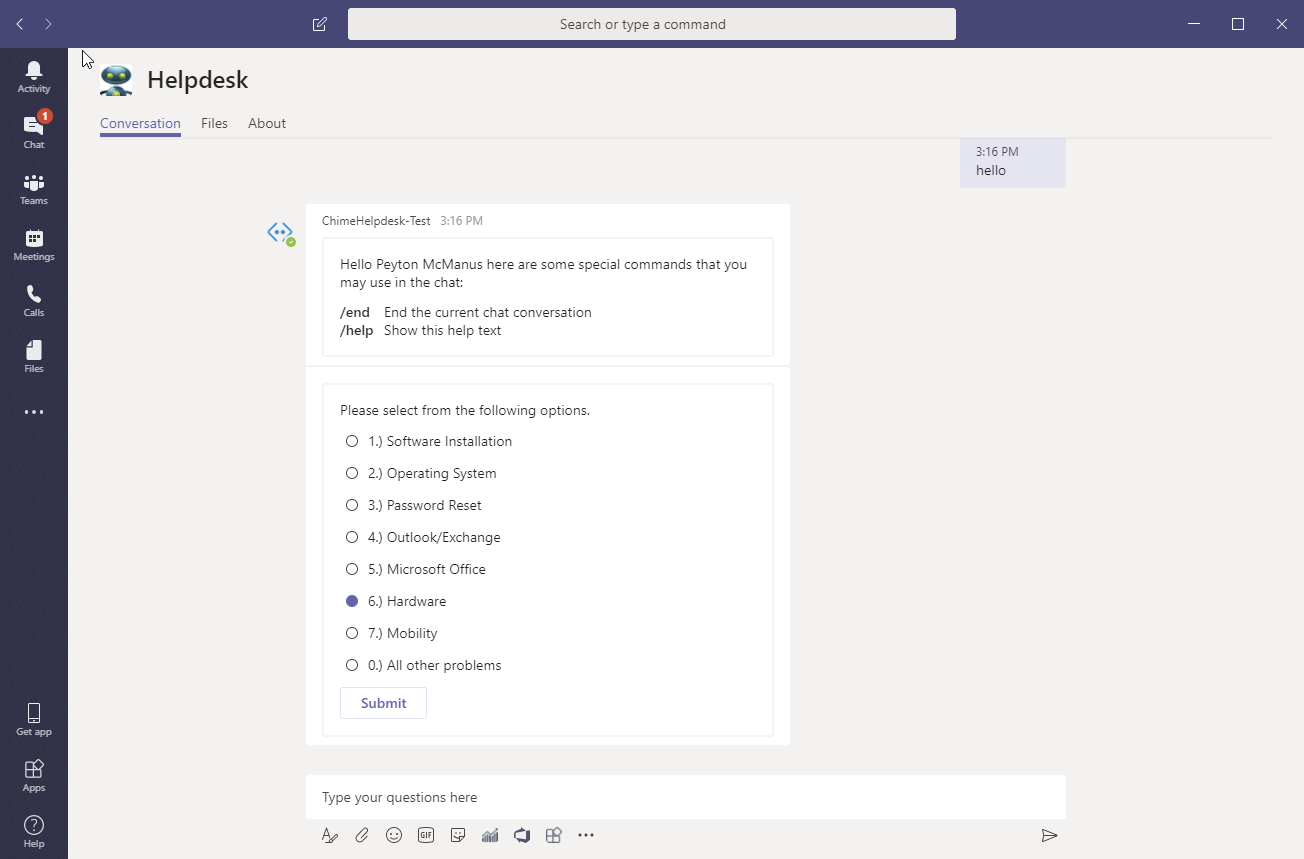 Routing In Teams (8)
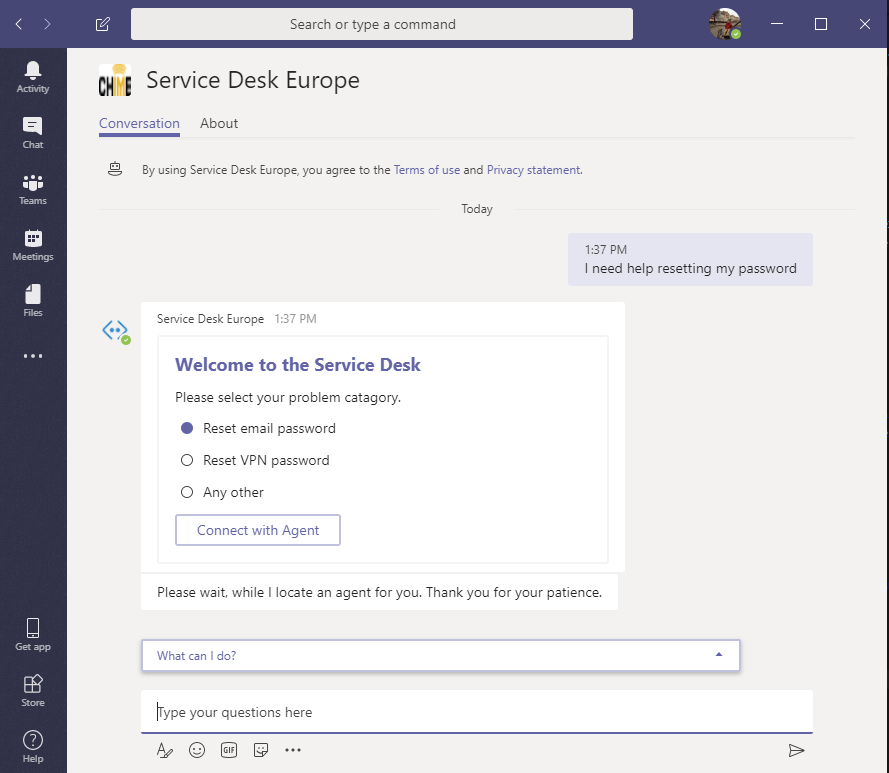
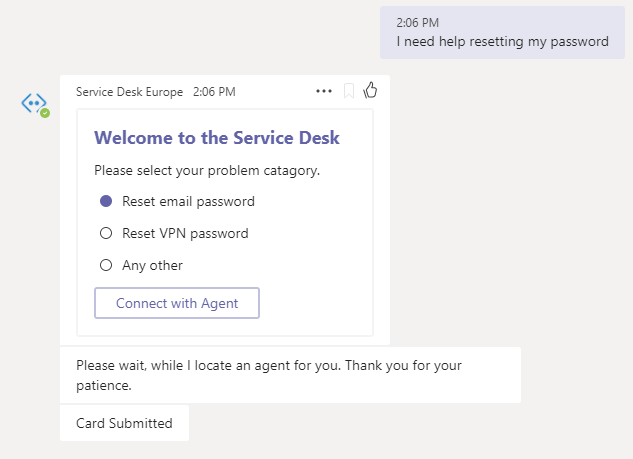
 Agent Experience (4)