The web client is accessed by opening a browser window to the url for the webClient.html
file, with parameters for the queue to hit, and optionally the user connecting to the chat.
The URL for the web client might look something like: http://Chime.server/Chime/webclient?id=1
Note* - Chime.server is a reference to your internal IP address where Chime is stationed
To open the web client, first we need to know a couple of values.
| Variable | Where To Locate |
|---|---|
| chatURL |
The Internal Web Client Address found in Queue Settings / Advanced Ex: http://Chime.server/Chime/webclient?id=1 |
| queueId | The Integer at the end of the Internal Web Client Address Ex: http://Chime.server/Chime/webclient?id=1 |
Here is an example on how you might open a chat session with a queue. This example assumes you have jQuery on your page.
<button id="chat-btn" data-queueid="1">Chat Now!</button>

<!--Using the data-queueid attribute allows the use of the same script for all buttons.
Changing the data-queueid will change which queue the button is referencing. -->
<button id="chat-btn" data-queueid="1">Chat Now!</button>
<button id="chat-btn" data-queueid="2">Chat Now!</button>
<button id="chat-btn" data-queueid="3">Chat Now!</button>
$(document).ready(function() {

    // In this example, we leave off the last number in the URL which signifies the queueId.
    // It will be concatenated when we call our startChat() function.
    var chatURL = "http://Chime.server/Chime/webclient?id=";

    var chatWindow = null;
    var windowFeatures = "width=600,height=600,locationbar=no,toolbar=no,menubar=no,resizable=yes";


   function startChat(queueId){
        if (chatWindow === null || chatWindow.closed) {
            chatWindow = window.open(
                chatURL + queueId,
                "LetsChat",
                windowFeatures
            );
        }else {
            chatWindow.focus();
        }
    }

   // Call function to start chat
    $('#chat-btn').click(function() {
        startChat($(this).data('queueid'))
    });
});
$(document).ready(function() {
    var iframeChatWindow = null;

    var startiframeChat = function() {
        if(iframeChatWindow === null) {
            $('#input-iframe').html('<iframe src="http://Chime.server/Chime/webclient?id=1" id="chat"></iframe>');
        }
        iframeChatWindow = true;
    };

    $(#chat-btn).click(function() {
        startiframeChat();
    });

});
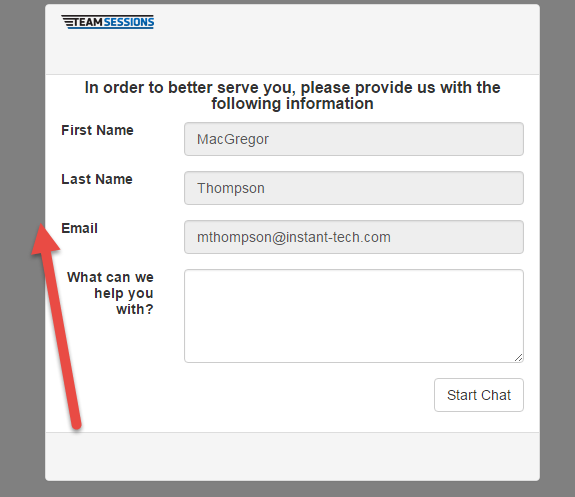
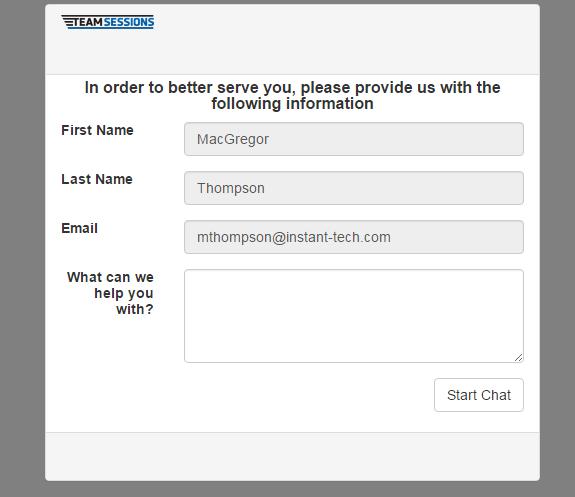
If you would like to modify the appearance of your web client such as customizing the form data, the use of your company's logo, or change the colors we will be happy to change it for you. Please contact us via email to development@instant-tech.com with any questions or concerns about how we might change the look of the web client to better suit your company's preference. For example if you would like to use your company's logo or change the colors, please send us a URL to your company's logo and any hex color codes you wish for us to use to and we can modify those settings for you.
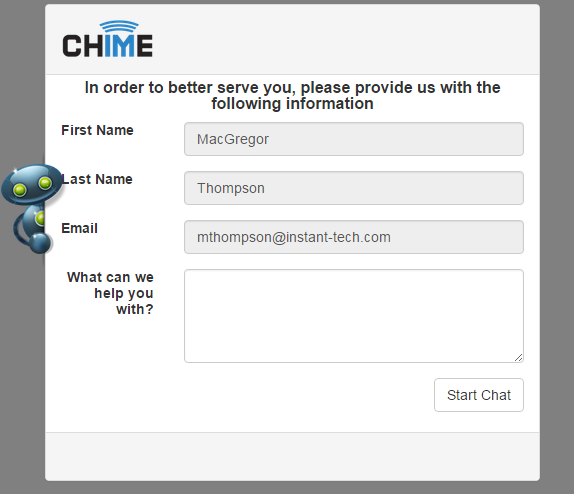
Current Web Client appearance:
Chime for Lync® has an API available to determine queue availability and wait times, which may be useful when exposing click-to-chat links out on various portal pages. This guide should outline the API calls available, and their responses.
All API calls are made as GET requests to
ChimeServer/Api/MethodName
| Method | GetQueueInfo |
| Parameters | queueID (int) |
| Response |
|
$.get('http://Chime.server/Chime/Api/GetQueueInfo',
    { queueID: 1 },
    function(response){
        //Do something with the response
    }
);
| Method | GetQueueWaitTime |
| Parameters | queueID (int) |
| Response |
|
$.get('http://Chime.server/Chime/Api/GetQueueWaitTime',
    { queueID: 1 },
    function(response){
        //Do something with the response
    }
);
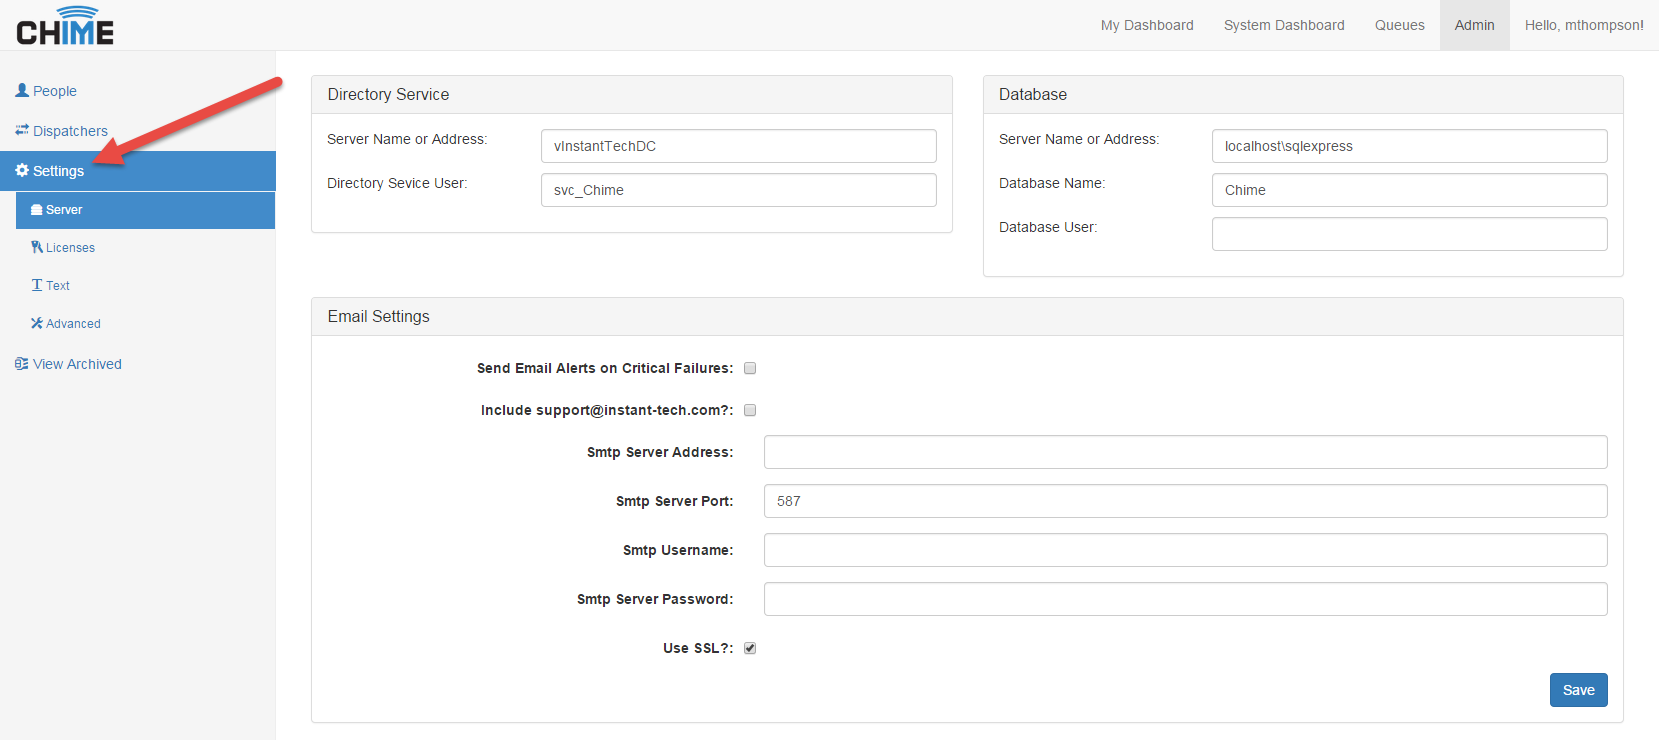
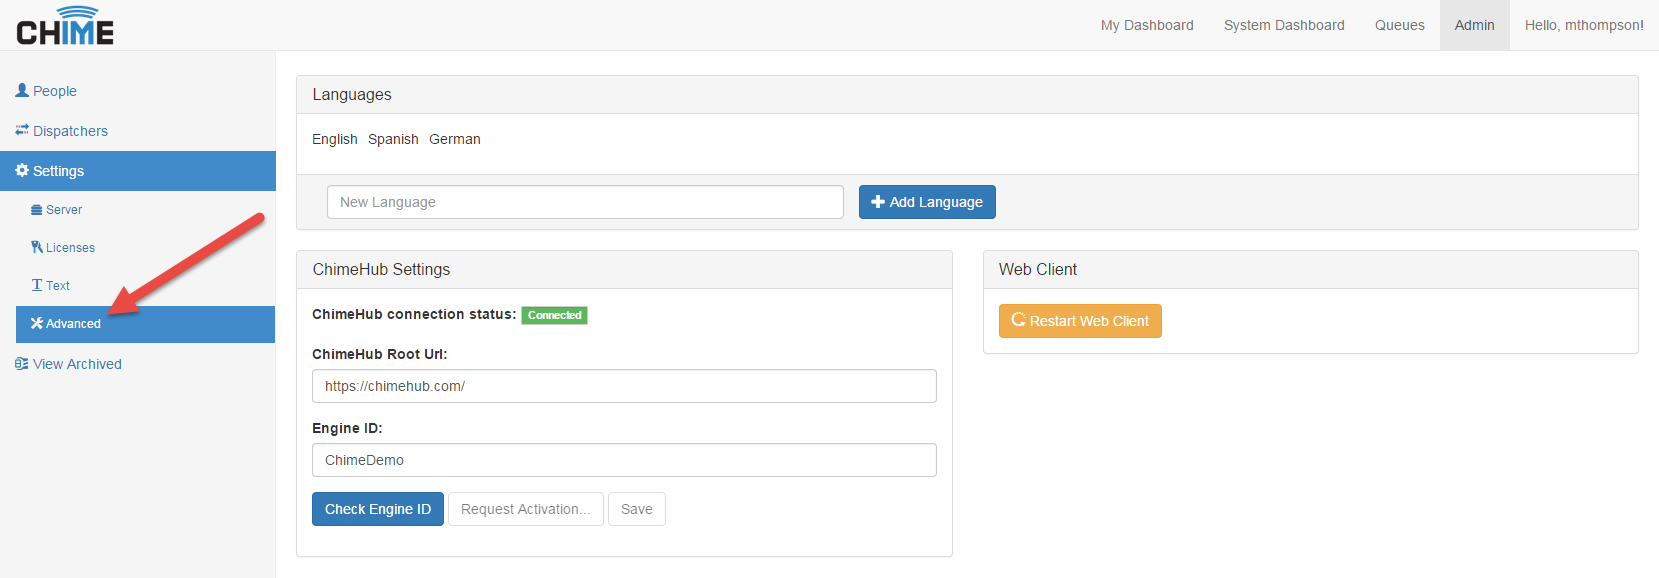
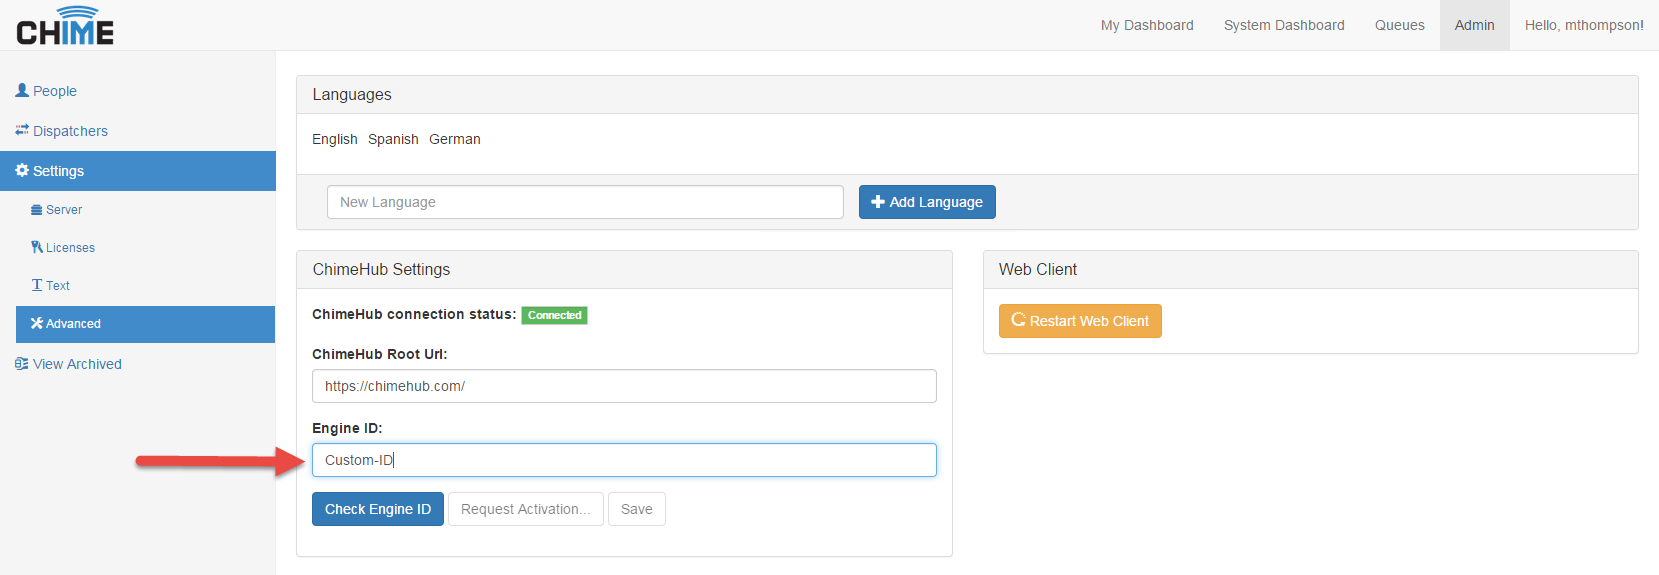
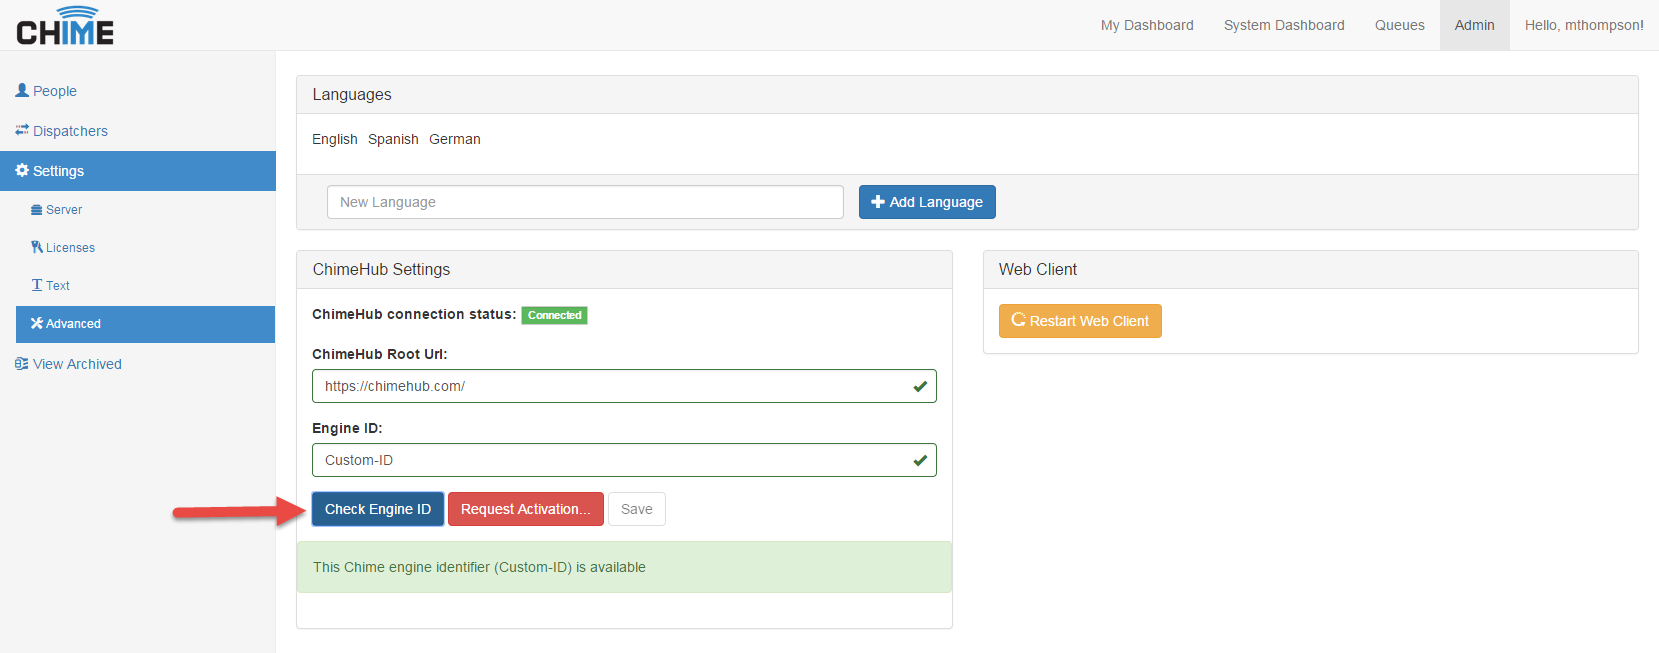
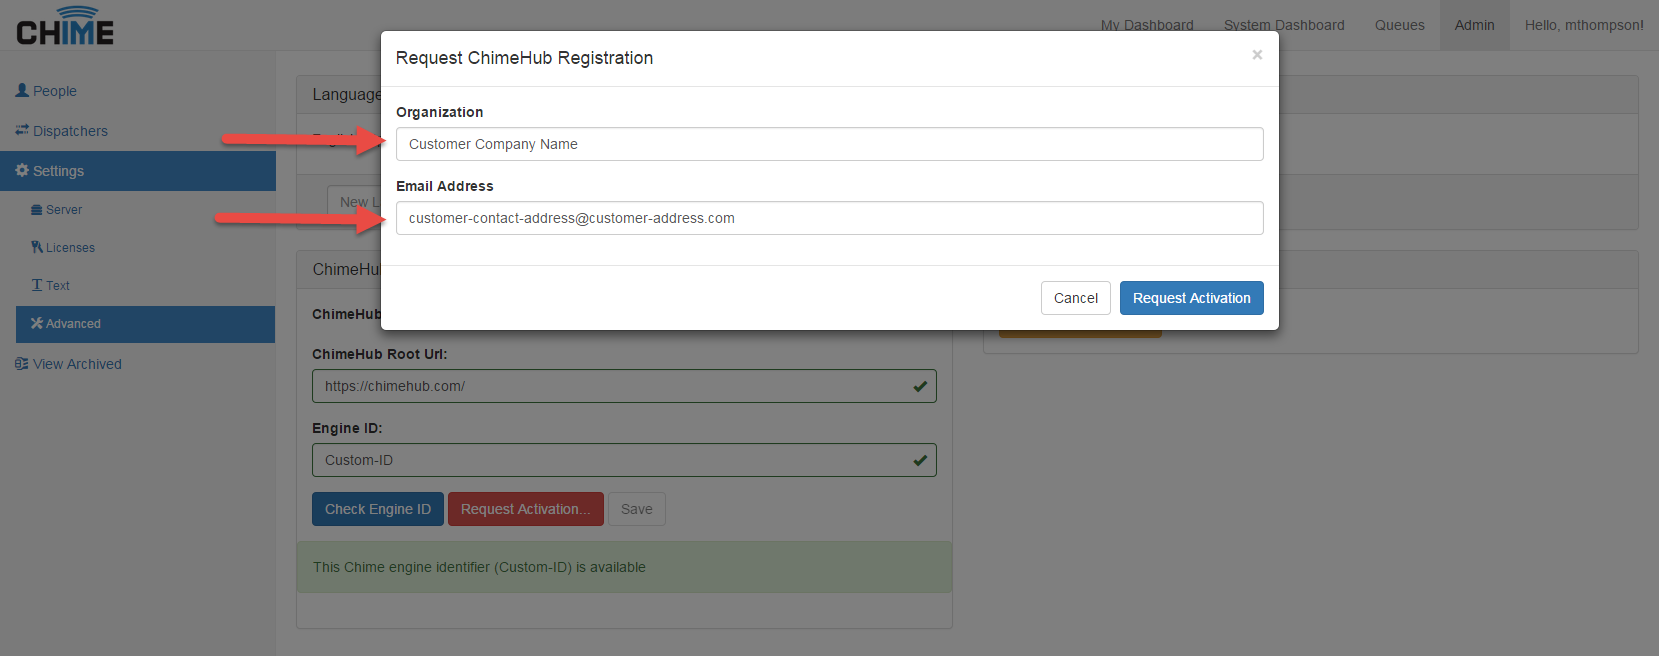
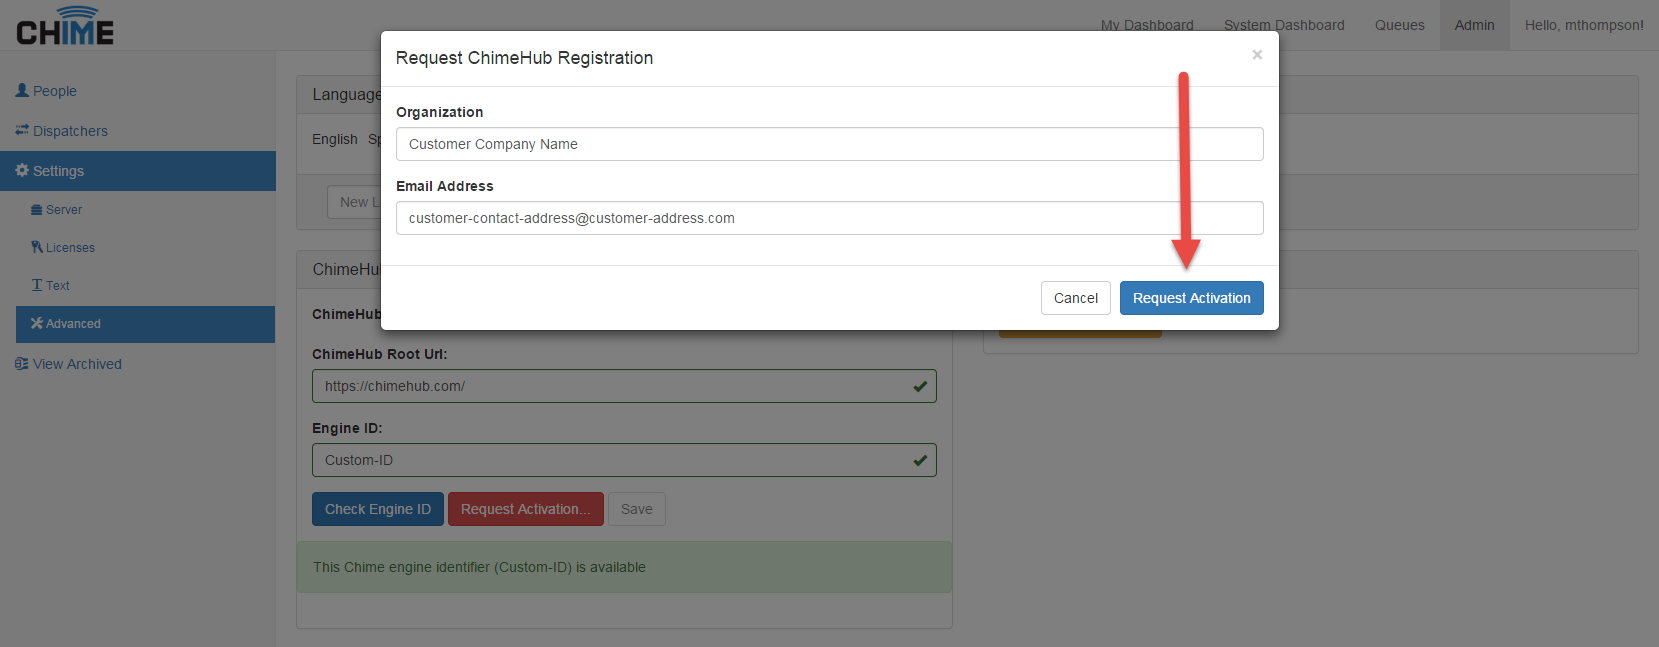
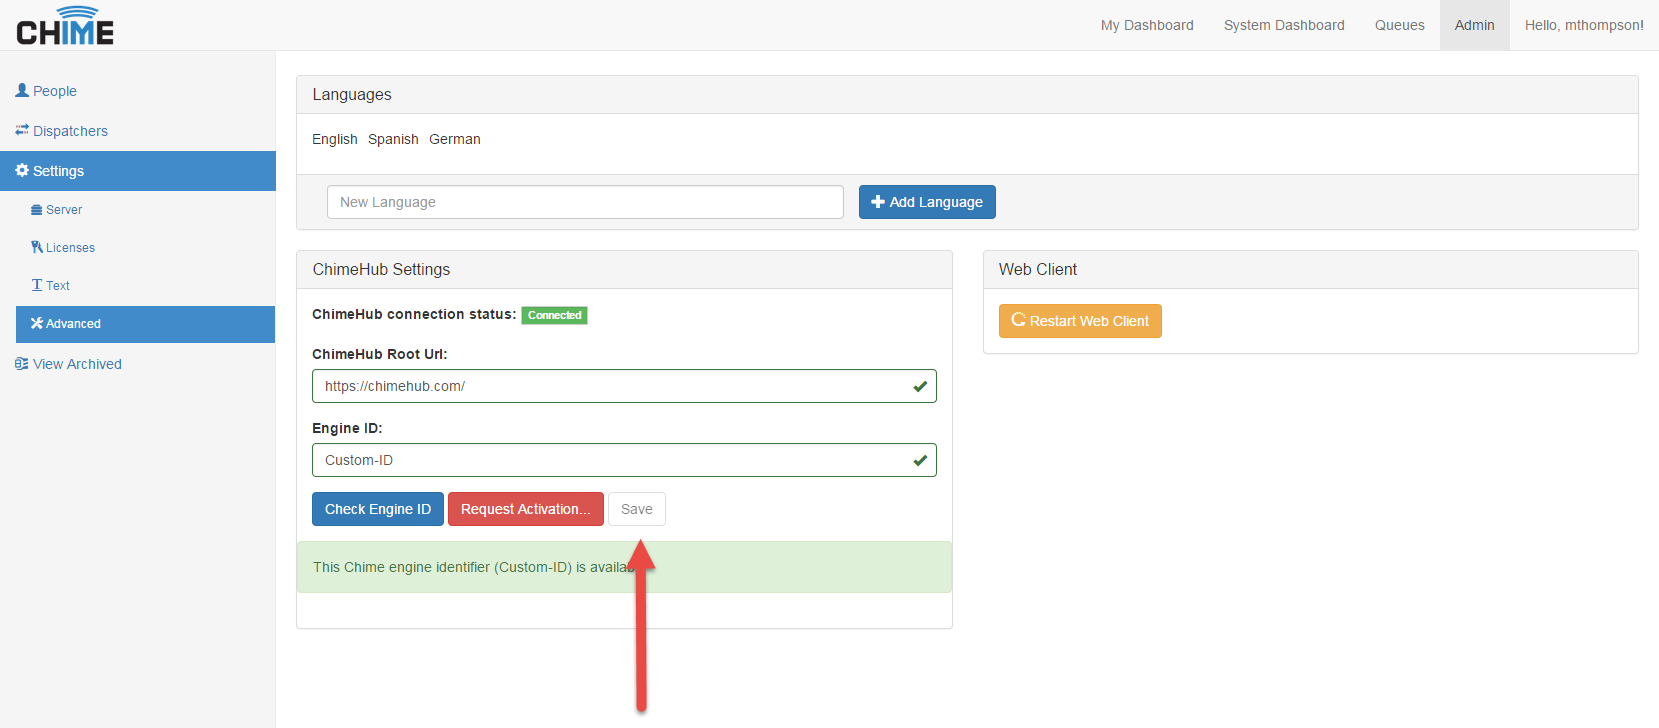
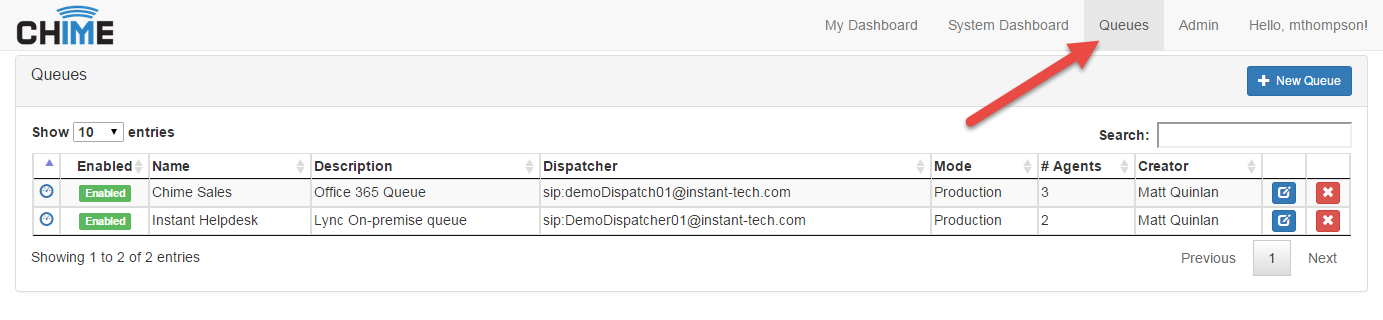
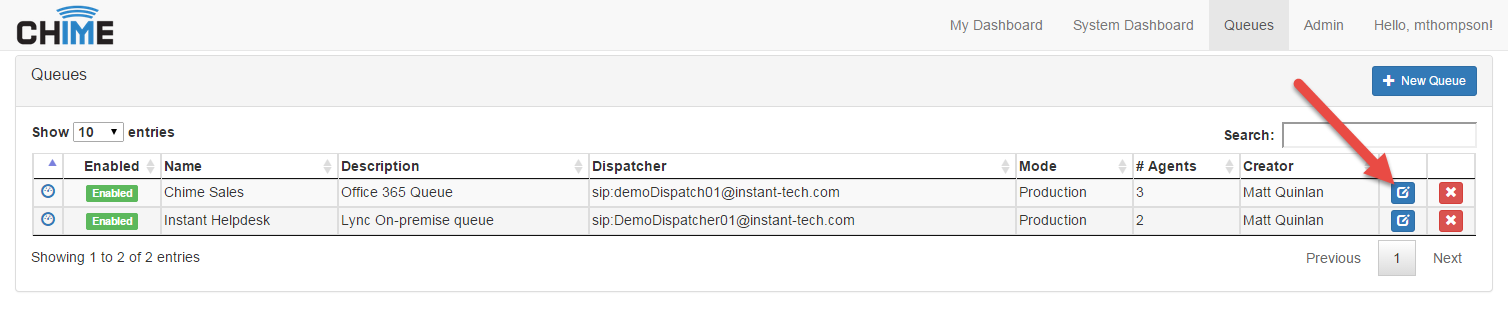
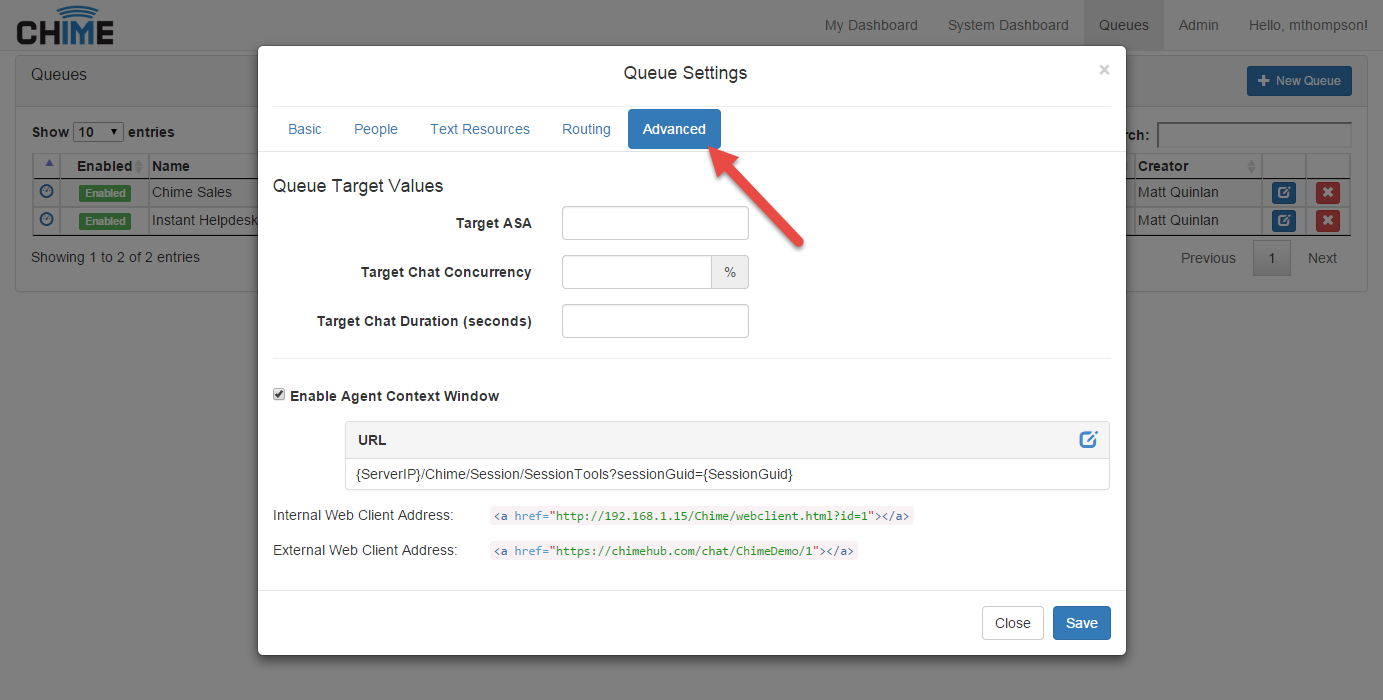
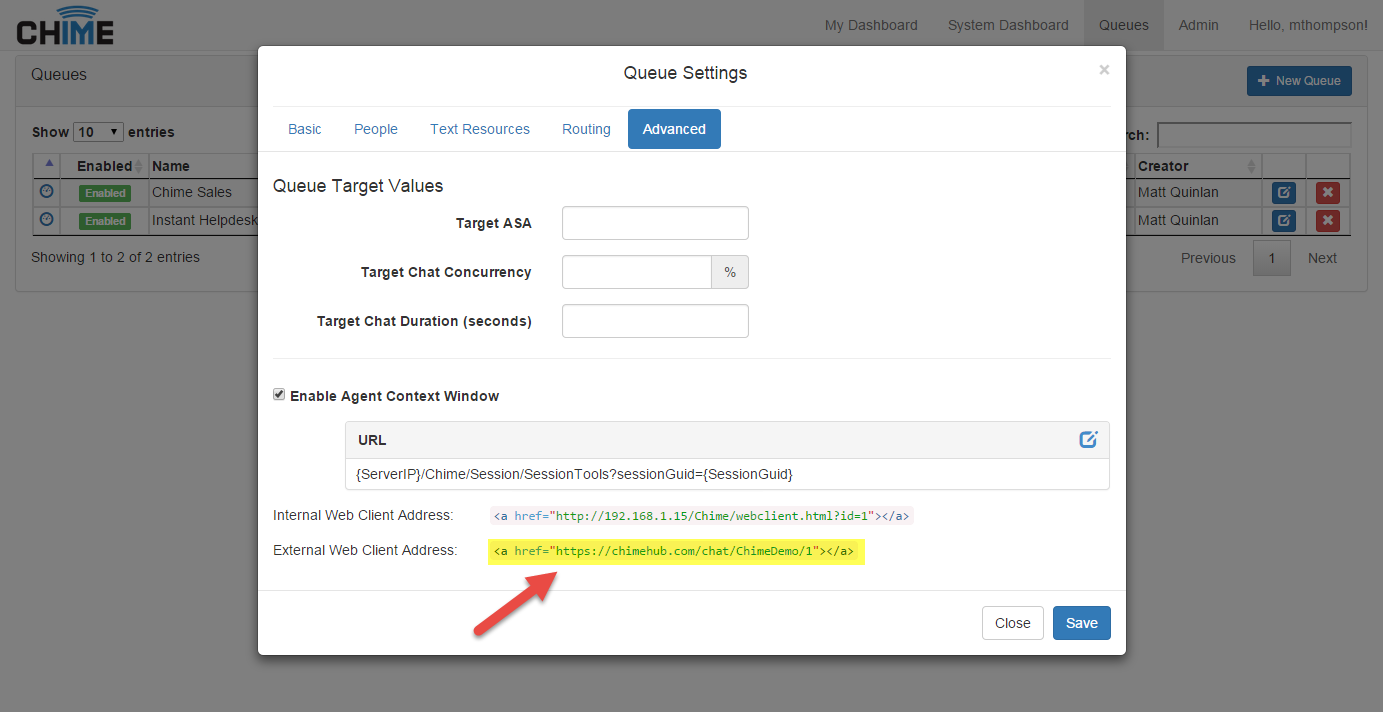
The engine name is the name registered with the ChimeHub service, in the Admin > Advanced settings area within the Chime application. The Queue ID is an integer representing the internal ID of the Queue in your Chime system. This can be seen retrieved from the Advanced tab in the Queue Settings for the queue, where Chime displays the URL needed to open a chat window through ChimeHub.
Note: User must have admin rights to follow instructions below.
For a PDF of the instructions click here » Staging_External_Web_Client_With_Chime_Hub.pdf
A click to chat button might look like this:
The markup might look like this:
| Method | isQueueAvailable |
| Parameters | engineID (string), queueID (int) |
| Response |
|
    $.get('https://chimehub.com/Webclient/isQueueAvailable', {
        engineID: 'ChimeDemo',
        queueID: 1
    }, function(data){
        if(data.isAvailable){
            $('.startChimeChat').show();
        } else{
            $('.startChimeChat').hide();
        }
    });
The following steps only pertain to Chime 2.3 and earlier. As of Chime 2.4, we've included the ability to customize web clients directly from the Admin UI, and will no longer require files to be edited directly on the Chime server. If you have any questions, please contact us at support@instant-tech.com.
* Note - Any changes made might be overwritten with future updates of Chime and should be backed up in a separate location.
* Note - Customizing your web client will change it's appearance for all queues on your server. Web client customization on a per-queue basis is currently not supported.
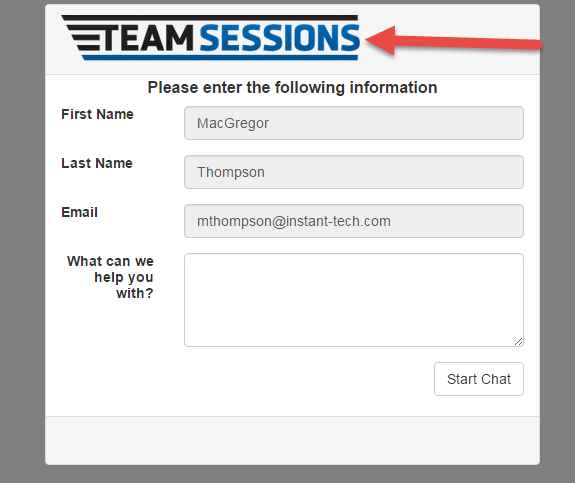
The examples below demonstrate how to switch out the Chime logo with your own.
Steps to complete:
    #brand {
        height: 50px;
        /*width: 100px;*/
        background: url("../images/chime3.png") no-repeat;
        -ms-background-size: contain;
        background-size: contain;
    }
    #brand {
        height: 50px;
        /*width: 100px;*/
        background: url("../images/yourBrand.image") no-repeat;
        -ms-background-size: contain;
        background-size: contain;
    }
    /*
    Moto Styling information
    */
    .chat-moto {
        position: fixed;
        float: left;
        margin-left: -44px;
        top: 150px;
        height: 120px;
        width: 67px;
        background: url("../images/chatClient/form_bot.png") no-repeat;
        -ms-background-size: contain;
        background-size: contain;
    }
    /*
    Moto Styling information
    */
    /*.chat-moto {
    position: fixed;
    float: left;
    margin-left: -44px;
    top: 150px;
    height: 120px;
    width: 67px;
    background: url("../images/chatClient/form_bot.png") no-repeat;
    -ms-background-size: contain;
    background-size: contain;
    }*/
    <div class="col-xs-3">
        <div id="brand">
            <!--[if LTE IE 8]>
                <img src="/Chime/Content/images/chime3.png" height="50" width="100" alt="Chime"/>
            <![endif]-->
        </div>
    </div>
    <div class="col-xs-3">
        <div id="brand">
            <!--[if LTE IE 8]>
                <img src="/Chime/Content/images/yourBrand.image" width="100" alt="Chime"/>
            <![endif]-->
        </div>
    </div>
* Note - Unless you are working in IE8 or before, you shouldn't see any changes.
<!-- PreChat Questionaire -->
<form class="form-horizontal prechat" role="form">
<input type="hidden" id="referrerURL" value="@RenderContext.Context.Request.Headers.Referrer">
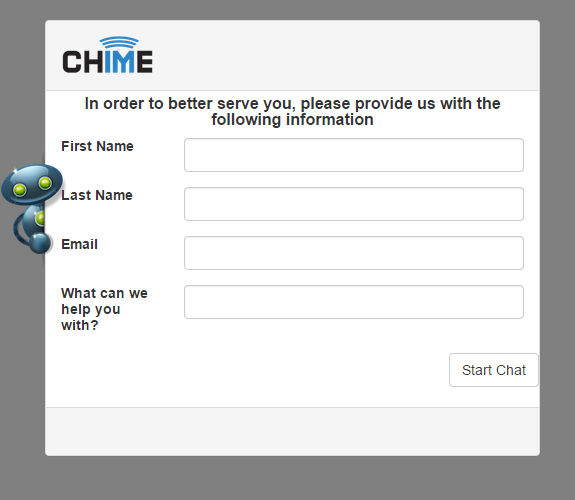
<p>In order to better serve you, please provide us with the following information</p>
@if (Model.RouteMethod == RouteMethods.SkillNoPriority || Model.RouteMethod == RouteMethods.SkillPriority) {
<!-- PreChat Questionaire -->
<form class="form-horizontal prechat" role="form">
<input type="hidden" id="referrerURL" value="@RenderContext.Context.Request.Headers.Referrer">
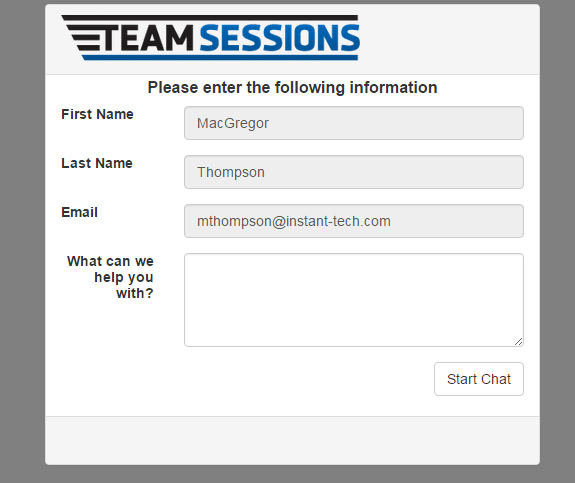
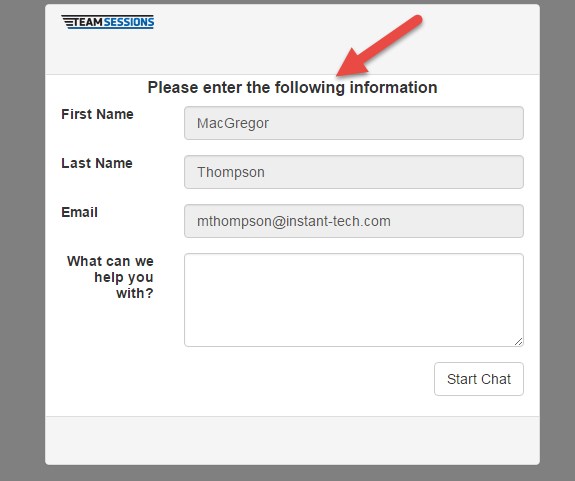
<p>Please enter the following information</p>
@if (Model.RouteMethod == RouteMethods.SkillNoPriority || Model.RouteMethod == RouteMethods.SkillPriority) {
* Note - We use the same code from Step 3.1
    <div class="col-xs-3">
        <div id="brand">
            <!--[if LTE IE 8]>
                <img src="/Chime/Content/images/yourBrand.image" width="100" alt="Chime"/>
            <![endif]-->
        </div>
    </div>
    <div class="col-xs-8">
        <div id="brand">
            <!--[if LTE IE 8]>
                 <img src="/Chime/Content/images/yourBrand.image" width="100" alt="Chime"/>
            <![endif]-->
        </div>
    </div>

$.get("http://Chime.server/Chime/Api/GetQueueInfo", { queueID: 1 }, function(data){

   //Queue Name
   $('#name').html(data.queueName);

   //Queue Status
   if(data.isAvailable){
      $('#status').html('Online').css({
         'color': 'green',
         'font-weight': '700'
      });

      $('#btn-1').removeClass('btn-default').addClass('btn-success').html('Click to Chat')
          .click(function() {
              window.open(
                  "https://chimehub.com/chat/LynconPremiseTesting/1",
                  "LetsChat",
                  ",width=600,height=600,resizable,scrollbars,status,"
              );
           });
    } else {
        $('#status').html('Offline').css({
            'color': 'red',
            'font-weight': '700'
        });
        $('#btn-1').removeClass('btn-success').html('Queue Offline');
    }

    //Agents Available
    if (data.onlineAgentCount > 9) {
        $('#num-agents').html(data.onlineAgentCount).css('color', 'green');
    } else if(data.onlineAgentCount > 0) {
        $('#num-agents').html(data.onlineAgentCount).css('color', 'red');
    } else {
        $('#num-agents').html('n/a');
    }

    //Average Wait Time
    $('#avg-wait').html(data.averageWaitTime);

    //Longest Wait Time
    $('#long-wait').html(data.longestWaitTime);

});
Lorem ipsum dolor sit amet, aenean nunc, blandit vivamus tincidunt iaculis vulputate vitae, adipiscing praesent, dictum quis metus. Suscipit scelerisque viverra maecenas nunc praesent. Dolor sagittis eu ac ut, faucibus purus, dolor montes venenatis nec sapien montes etiam, justo dolor, vehicula egestas magna. Eleifend sed curabitur, orci ullamcorper imperdiet magna lacinia, tristique suspendisse id metus malesuada et wisi. Nam ac rhoncus nec sapien nisl. At wisi mauris. Amet volutpat nam lacus sodales justo ligula, ut tortor fermentum, dolor mi, magna deserunt magnis rutrum in erat amet. Vivamus montes eget metus adipiscing, wisi tempus ultricies risus, eu non.
| Queue Name: | IT Helpdesk |
|---|---|
| Queue Status: | Online |
| Agents Available: | 24 |
| Avgerage Wait: | 00:04:23 |
| Longest Wait: | 00:09:07 |
Lorem ipsum dolor sit amet, aenean nunc, blandit vivamus tincidunt iaculis vulputate vitae, adipiscing praesent, dictum quis metus. Suscipit scelerisque viverra maecenas nunc praesent. Dolor sagittis eu ac ut, faucibus purus, dolor montes venenatis nec sapien montes etiam, justo dolor, vehicula egestas magna. Eleifend sed curabitur, orci ullamcorper imperdiet magna lacinia, tristique suspendisse id metus malesuada et wisi. Nam ac rhoncus nec sapien nisl. At wisi mauris. Amet volutpat nam lacus sodales justo ligula, ut tortor fermentum, dolor mi, magna deserunt magnis rutrum in erat amet. Vivamus montes eget metus adipiscing, wisi tempus ultricies risus, eu non.
| Queue Name: | IT Helpdesk |
|---|---|
| Queue Status: | Offline |
| Agents Available: | n/a |
| Avgerage Wait: | 00:00:00 |
| Longest Wait: | 00:00:00 |